Setup
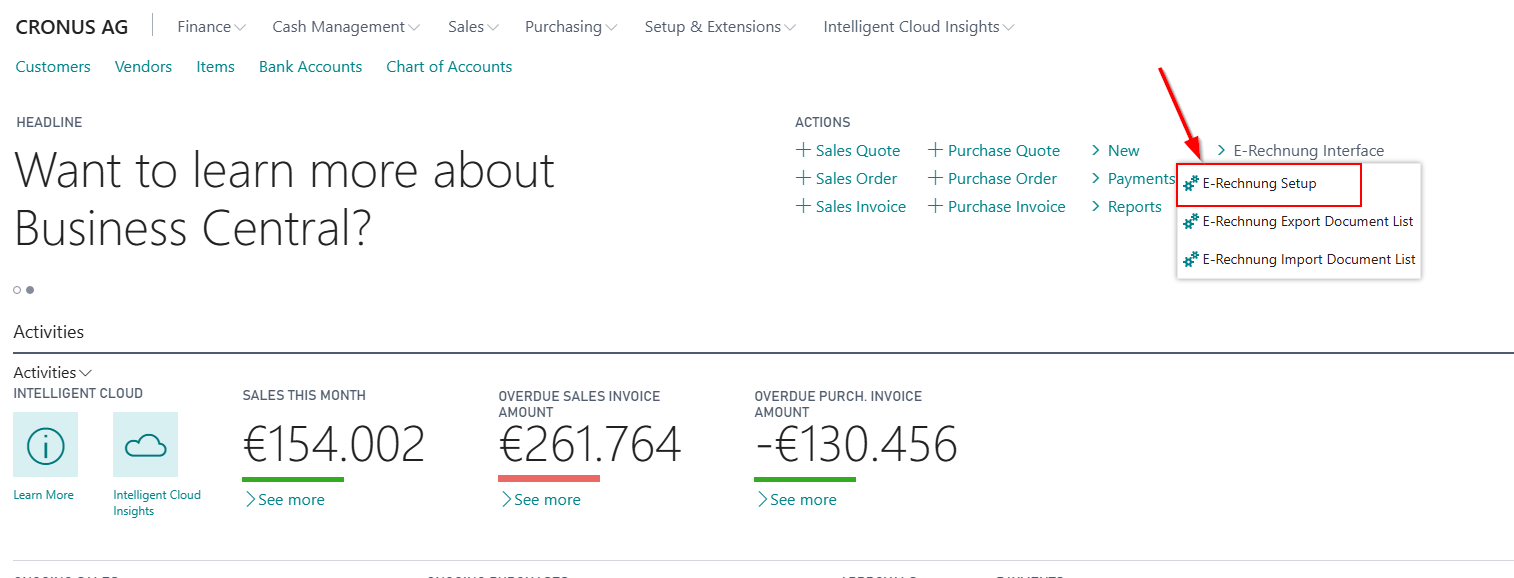
You start the setup process of the App SIEVERS E-Rechnung by opening the page E-Rechnung Setup.
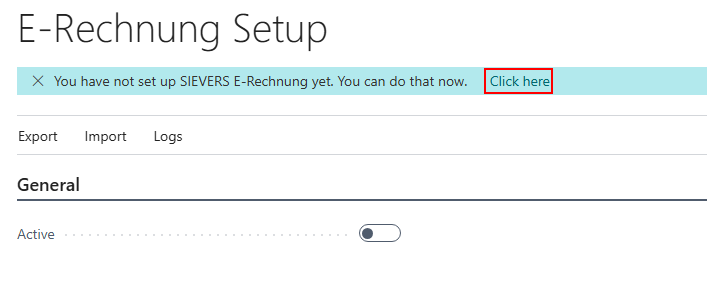
If SIEVERS E-Rechnung has not yet been set up a notification appears. This notification contains a link to the setup wizard.
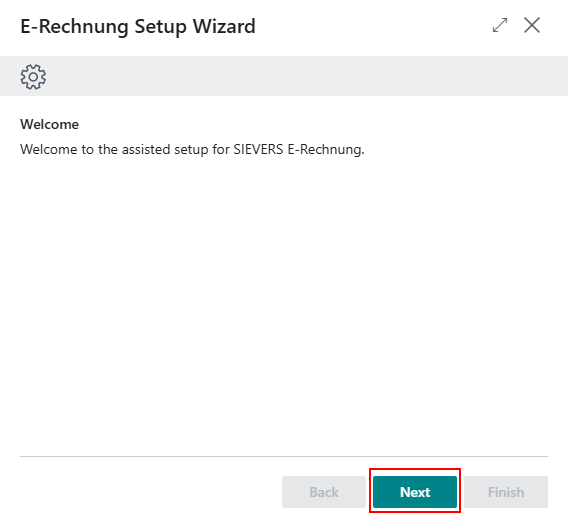
Below you will be guided through the setup wizard of SIEVERS E-Rechnung.
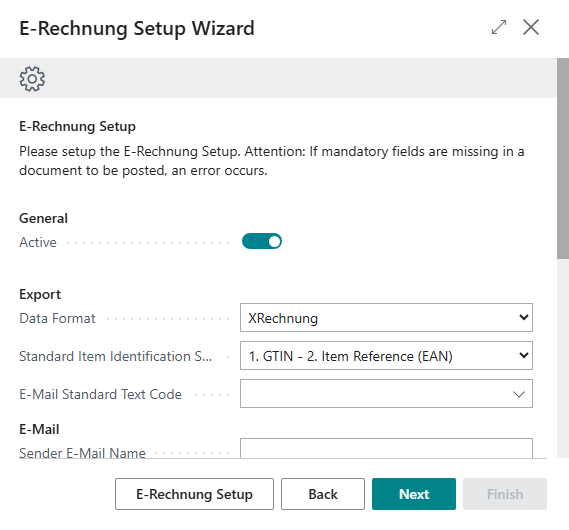
In the first step of the setup wizard, activate the functionality for generating e-invoices by clicking the Active button. You can also select the default data format, specify the search order for standard item identification, enter a default e-mail text code, and decide for sales invoices and credit notes as well as service invoices and credit notes whether lines with zero amounts should be exported. In addition, you can also define an e-mail sender here. For more information about these fields, see the section E-Rechnung Setup. There are also other setup fields for alternative tax codes.
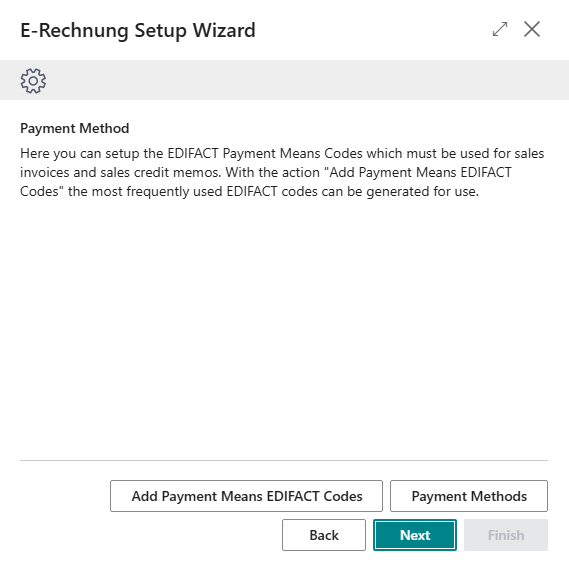
The goal of the next step is the assignment of your payment methods deposited in Microsoft Dynamics 365 Business Central to the UN/ECE 4461 codes required by XRechnung.
The action Add Payment Means EDIFACT Codes stores the codes supported by SIEVERS E-Rechnung in a table.
Hinweis
If you use EDIFACT code 49 or 59, the field Our account no. must be filled in for the customer.

The action Payment Methods offers you the possibility to store the EDIFACT-Codes you generated previously.
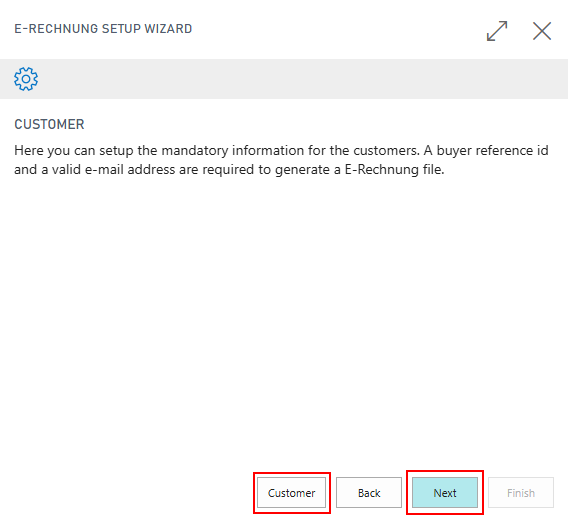
In the next two steps of the setup wizard, you can use the Customers and Vendors buttons to enter information about your customers and vendors. The following descriptions apply to both vendor and customer setup, so they have been combined. You must set up the vendors if you also want to use e-invoices for purchase credits.
Hinweis
Note for C/AL versions (NAV): During initial setup, the E-Rechnung customer/vendor list will be empty. Use the Synchronise customers/vendors action in the menu to transfer all existing customers or vendors. A progress display shows the status. The synchronised entries can then be activated for E-Rechnung as usual.
Hinweis
Save time with ‘Activate selected customers/vendors with defaults’
The menu contains the option Activate selected customers/vendors with defaults. This option automatically performs the following steps for the selected customers or vendors:
- Activates SIEVERS E-Rechnung
- Automatically enters the buyer reference (see the sequence below for the field E-Rechnung buyer reference)
- Enter e-mail from customer/vendor
- First report found from report selection is automatically inserted based on document type
Deactivate selected customers/vendors to undo these changes.
These features save a lot of time – please be careful when using them.
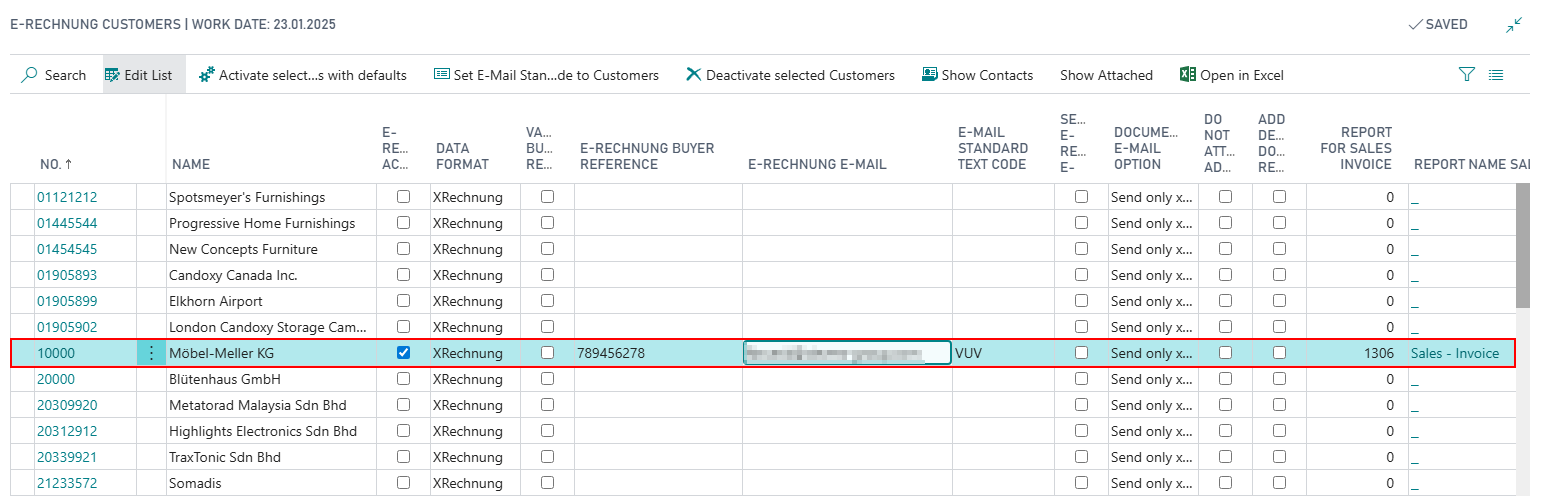
Active: This activates the E-Rechnung functionality at the customer/vendor level. In the posting process, this triggers the check function and the generation of the e-invoice.
ZUGFeRD automatic service activated: Activating this option causes ZUGFeRD files to be processed fully automatically in the background via the task queue. This means that no user interaction is required when generating ZUGFeRD files. If the option is deactivated, a logged-in user is required when generating ZUGFeRD files. A maximum of 1000 calls per day are possible. If you have a greater requirement, please contact your SIEVERS GROUP representative. This function is not available in C/AL versions.
Hinweis
To get a better overview for which customers/vendors SIEVERS E-Rechnung is active, you can add the field E-Rechnung Active to the customer/vendor list via Personalize. The field is also displayed in the document overviews such as the sales order list.
Hinweis
Vendors: For E-Rechnung functions to be available for vendors, the Use Self Billing option must first be activated in the E-Rechnung Setup. If this option is deactivated, the E-Rechnung settings are not displayed on the vendor card and activation is not possible. If you open the E-Rechnung vendors overview with the self billing deactivated, you will be prompted to activate it first in the setup.
- Data format: This is where you determine which data format should be used for e-invoices for these customers or vendors
- Validate buyer reference: This is where you can activate or deactivate the validation of the buyer reference. It is activated by default. It may be necessary to deactivate it if you also want to use E-Rechnung for customers or vendors without an official buyer reference.
Hinweis
The buyer reference is an identification number for public clients of the federal administration. It is mandatory when sending an invoice to a public body, such as a public authority. The buyer reference is not required for invoices to private companies.
E-Rechnung Buyer Reference: Is for deposit of the buyer reference. This will be transmitted to you by your business partner. If no buyer reference is entered, a buyer reference will automatically be adopted into the E-Rechnung. The following order of priority applies:
- VAT ID/UST ID
- GLN
- IBAN
If no information suitable as a buyer reference is found, an error message will appear.
Hinweis
For Peppol invoices, the schema prefix before the VAT ID is automatically determined from the Country/Region Table via the VAT Schema field. This ensures that country-specific requirements for the buyer reference are automatically met (e.g., "DE:" for Germany, "AT:" for Austria).
- E-Rechnung E-Mail: This is used to enter the customers or vendors invoice receipt address. You can specify multiple addresses. These must be separated by a semicolon. This field is also available on the contact card.
- E-Rechnung E-Mail Send at Batch Post: This ensures that an E-Rechnung e-mail is sent to this customer or vendor for each type of batch posting, provided that E-Rechnung is active for this customer/vendor. If the button is not activated, the e-mail is not sent for a batch posting.
::: Attention The following restrictions apply in the service to the function E-Rechnung E-Mail Send at Batch Post:
- Business Central 15 and newer: Only possible with service orders. Not possible with service invoices and service credit memos.
- Business Central 14 and older NAV versions: Function not available.
If the desired function is not available in your version, use the *Send E-Rechnung Document function in the document overviews instead after posting. :::
- Show E-Mail Editor: Causes the E-Mail Editor to appear before sending an E-Rechnung E-Mail when sending individual documents. When batch processing multiple documents, the editor will not be displayed, even if this option is activated. This editor only works when you use the new Enhanced email capabilites in BC18. For further information read the section E-Mail setup in BC18.
- XRechnung/Peppol Document E-Mail Option: Here you can select which files should be transferred to the respective customer. For ZUGFeRD invoices, a PDF is always sent, therefore this option has no meaning for these invoices. The following options are available for sending E-Rechnung invoices:
- Only send the XML file for E-Rechnung
- Send the XML file for E-Rechnung and a PDF-file of the invoice or credit note as additional attachment
- Send the XML file for E-Rechnung with the embedded PDF-file of the invoice or credit memo. This option in combination with ZUGFeRD is not available for Navision 2016 and older.
- Do not attach additional supporting Docs: If this option is activated, additional supporting documents are not attached to sent e-mails. However, they are still embedded in the sent XML file.
- Add Despatch Document Reference: Activating this option causes all sales delivery headers belonging to the sale to be saved in the e-invoice.
- Report for Sales Invoice, you can decide per customer/vendor which report should be attached if you selected the second or third XRechnung/Peppol Document E-Mail Option previously.
- Report Name Sales Invoice: shows the name of the selected report. Equally you can select reports for Sales Credit Memos.
- Show Contacts: This action opens the list of contacts associated with the selected customer/vendor. If a document contains a contact email, the e-invoice will be sent to that contact. Otherwise, the regular customer/vendor email will be used.
If you completed the setup steps regarding the customers and vendors you can close the overview and proceed to the next step with Next. If you want to make subsequent E-Rechnung settings to customers or vendors, you will find them on the customer/vendor card in the E-Rechnung tab. For vendors, this tab is only visible if the Use Self Billing option is activated in the E-Rechnung Setup.
If you do not use Business Central 18, you can complete the setup wizard here. Otherwise, the e-mail setup follows at this point. Please read the corresponding section for more information..