Setup in BC using the Setup Wizard
SIEVERS Print offers the option of setup via the setup wizard. This allows the relevant settings to be made without any detours.

Depending on whether it is a SaaS system or not, the setup wizard differs slightly. A SaaS system requires registration and activation of the service in the Azure Portal and in Business Central. There are two additional setup steps in the setup wizard for this:
- Set up the ME application in Azure Portal
- Enable ME application in Business Central.
These steps are described in Service Setup.
If it is an on-prem system, the setup wizard starts with the following step:
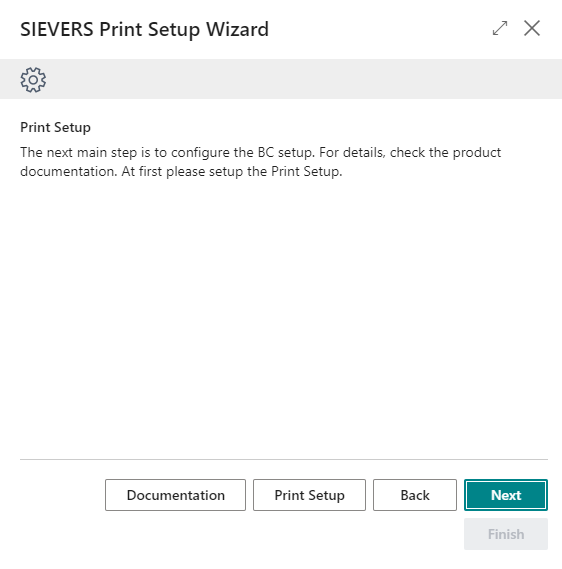
In the first regular step, you will be asked to perform the print setup. This only contains one option:
- Clear cache before printing: Causes the cache to be cleared before printing. This option should only be activated if there is more than one service tier and the print was executed via a different service tier. In this case, performance can be improved.
The second step is about the paper trays. Here you enter the paper formats you use.
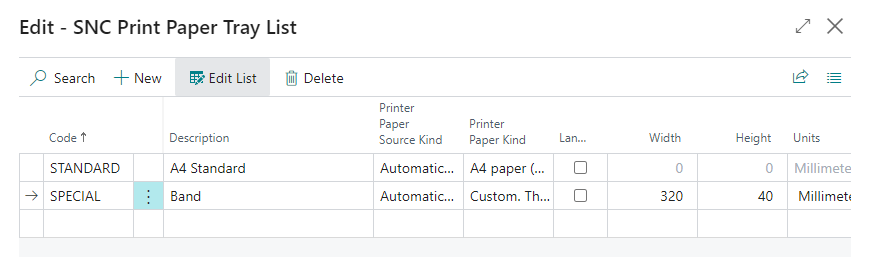
In the paper tray overview there are the following fields:
- Code: The code name of the format. This is used for identification in other areas of the setup.
- Description: A description for further specification. Can also be left blank.
- Printer Paper Source Kind: Select which paper feeder to use.
- Printer Paper Kind: Here you define which printer paper you are dealing with. With this list you can choose from the most common formats. If your desired format is not available in the list, select Custom.
- Width and Height: If you have selected Custom for the Printer Paper Kind, you can define the format in these fields. With the Unit field you define the unit to be used for these dimensions.
After you have entered the paper formats, you can create virtual printers in the next step. To do this, open the (still) empty overview.
Use New to create a new printer.
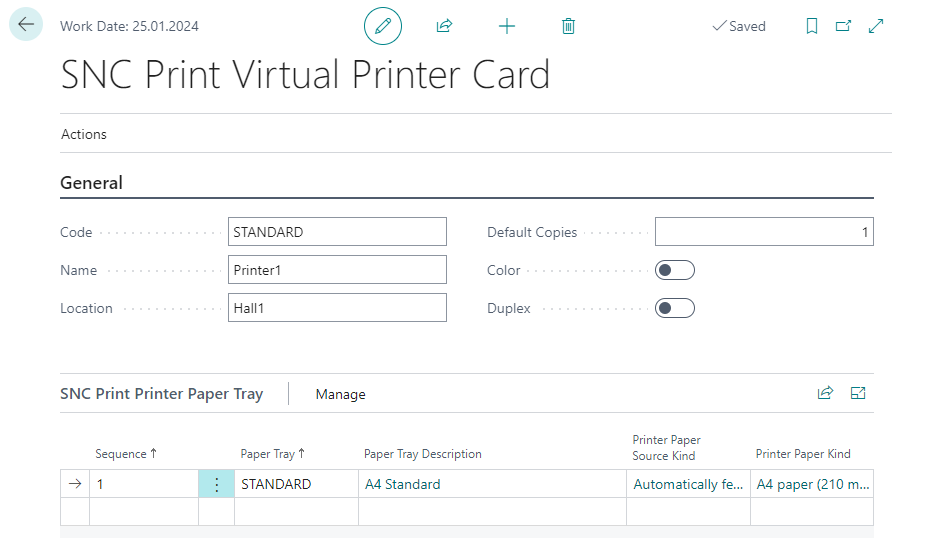
Here are the following fields:
- Code: The code name of the printer. This is used for identification of the printer in other areas of BC.
- Name: The name of the printer.
- Location: The location where the printer is located.
- Default Copies: The number of copies the printer should create by default.
- Color: Specifies whether it is a color printer.
- Duplex: Specifies whether it is a duplex printer.
- Landscape: Specifies whether the printer prints in landscape format.
::: Attention On on-prem systems, the Code of a virtual printer must not match the name of a local printer. If such a name conflict is detected, an error message is displayed – both when creating the virtual printer and when printing or opening the printer management. In this case, rename the virtual printer. :::
After that, you assign the paper trays to the printers and define the order in which they should be used.
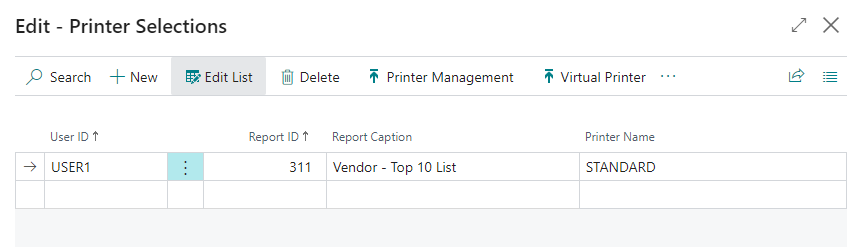
The solution now knows your printers and their paper trays. Now it still needs to know what data to pass to the printers. For this reason, the next step Printer Selections is to assign the virtual printers just created to the reports to be printed and to a user.
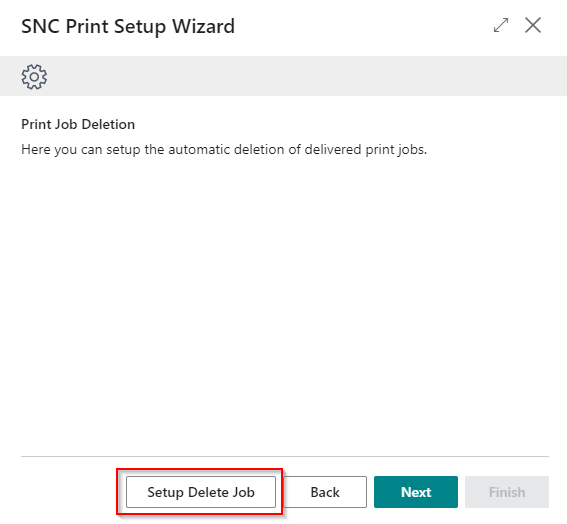
The next step is to set up deletion automation. This is used to remove already delivered print jobs. When you click Delete Print Jobs Setup in the setup wizard, a delete job is automatically created and started in BC Standard. It is configured so that print jobs are removed after 60 minutes. If you want to edit it, you must first stop it with the Set to Wait operation.
Finally comes the configuration of the service on premise. The documentation for this can be found in the section Create and configure service on prem.
You can also download the Deliverable here, which is required to operate the print service.

The setup of SIEVERS Print on Business Central is now complete. At last, you will be shown some data that is necessary for further setup.
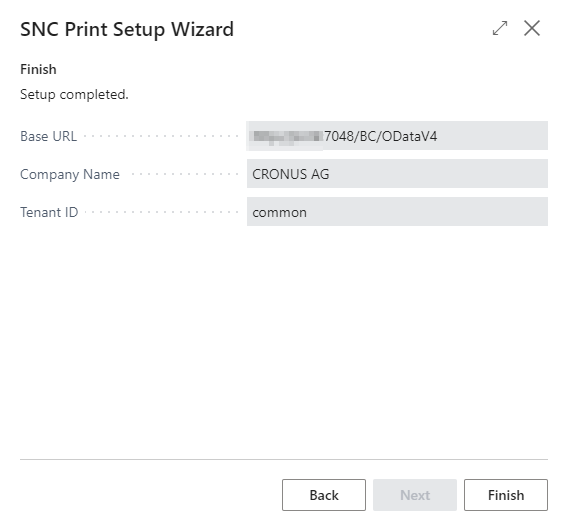
The SIEVERS Print Service must now be set up to process the print jobs from Business Central.