Setup
App registration in the Azure portal
To use the SIEVERS Connector to SharePoint, it must first be registered and setup on Azure. To do this, open the page portal.azure.com and log in with the correct tenant.
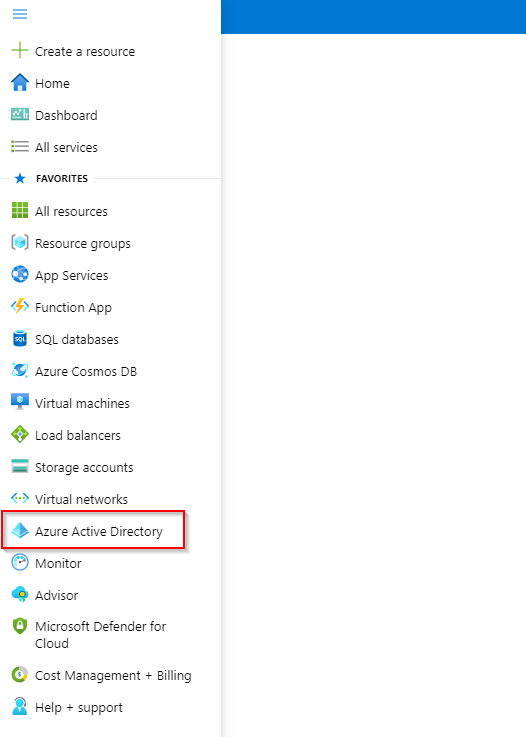
In the menu you will find the item Azure Active Directory.
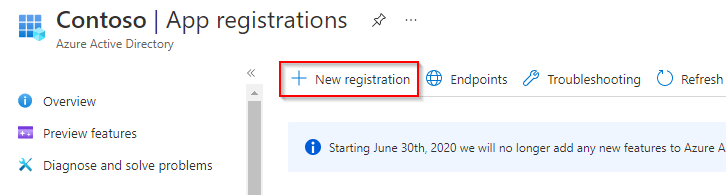
Here you can register new apps in the App registrations section.
Create a new app registration with New registration.
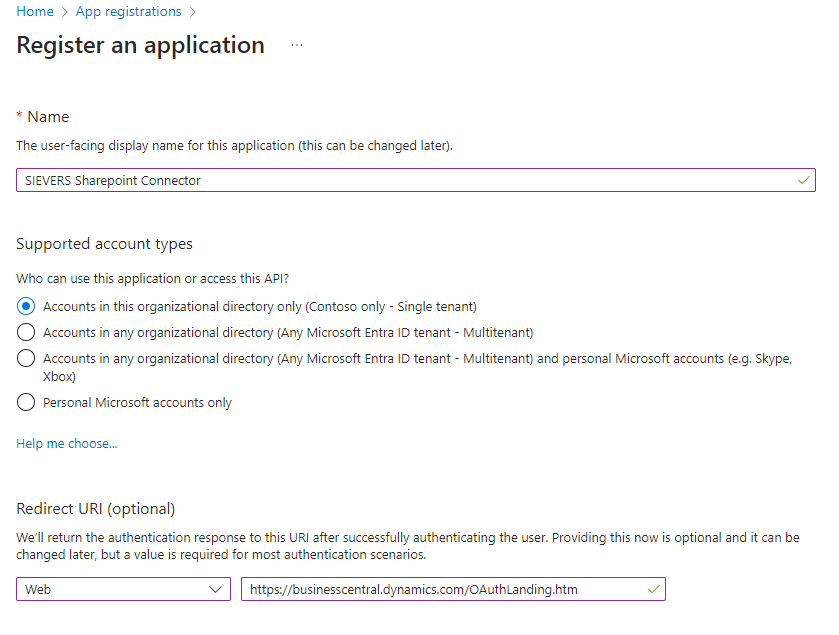
Give the app a name, for example SharePoint Connector.
Also make sure that the first option Accounts in this organizational directory only is selected in the Supported account types section.
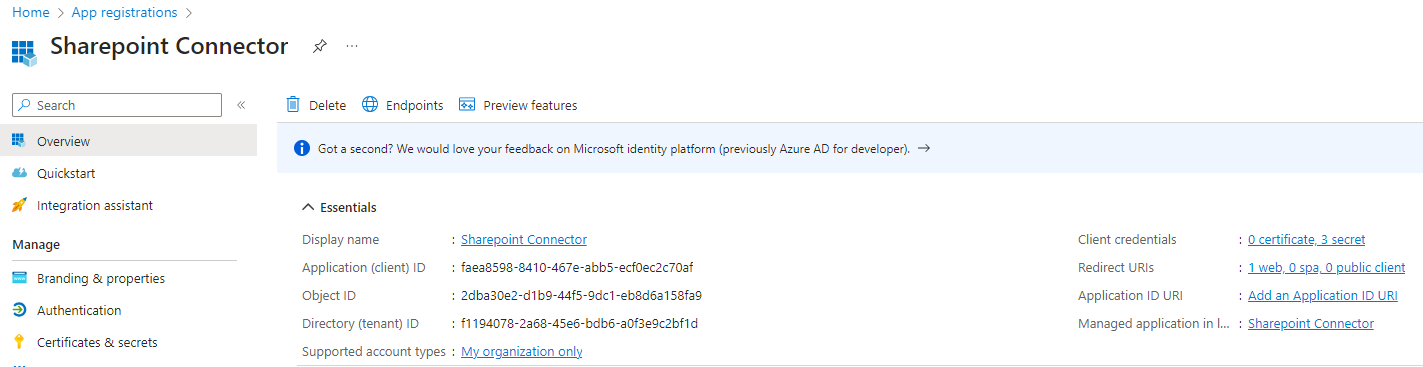
After registration, some important data will be shown.
Save the Application ID and the Directory ID separately.
These are required later for the connection of the Connector to SharePoint in Business Central and this app registration.
Then add a Client Secret with Add a certificate or secret. This is necessary for the creation of credentials.
You can again enter any name for the description.
Then add a date on which the secret should expire.
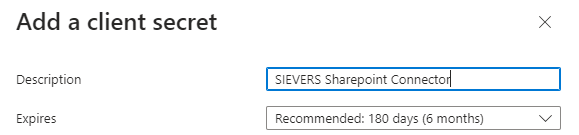
::: Attention After you have created the client secret, you must copy the secret value immediately and save it separately. Copying the client secret is only possible the first time the value is shown. :::

Then switch to the API Permissions menu.
In the API Permissions, the service must now be authorized to receive data from the Dynamics 365 Business Central API. To do this, add a new permission with Add a permission.
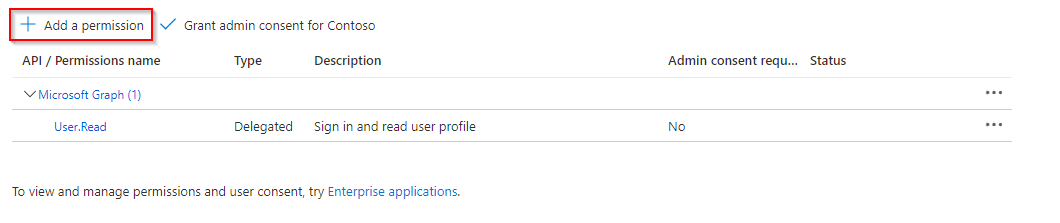
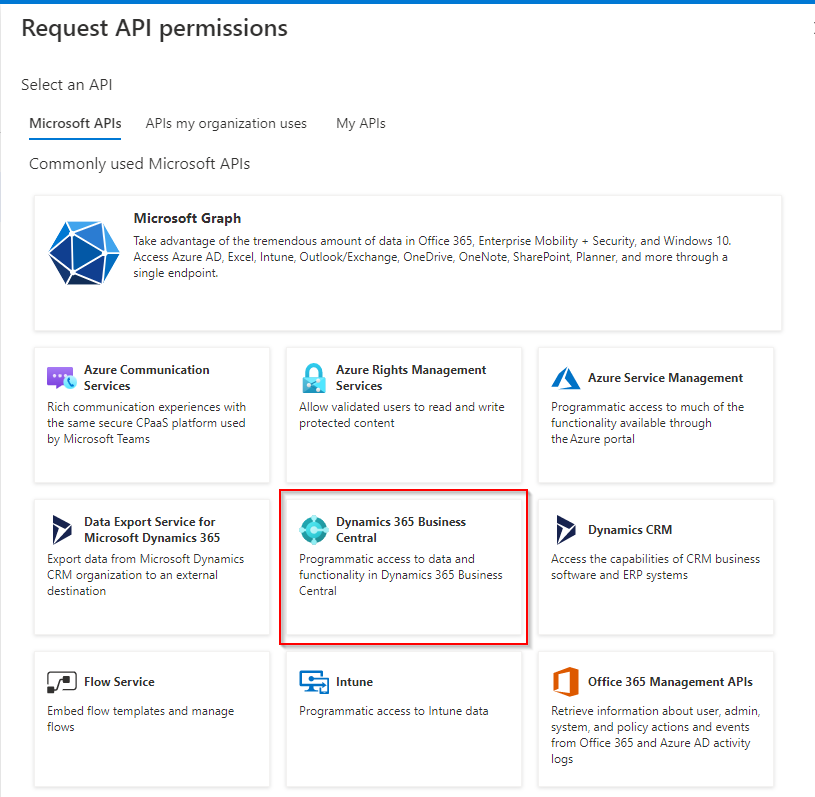
You must then select the API for which you want to assign the authorization.
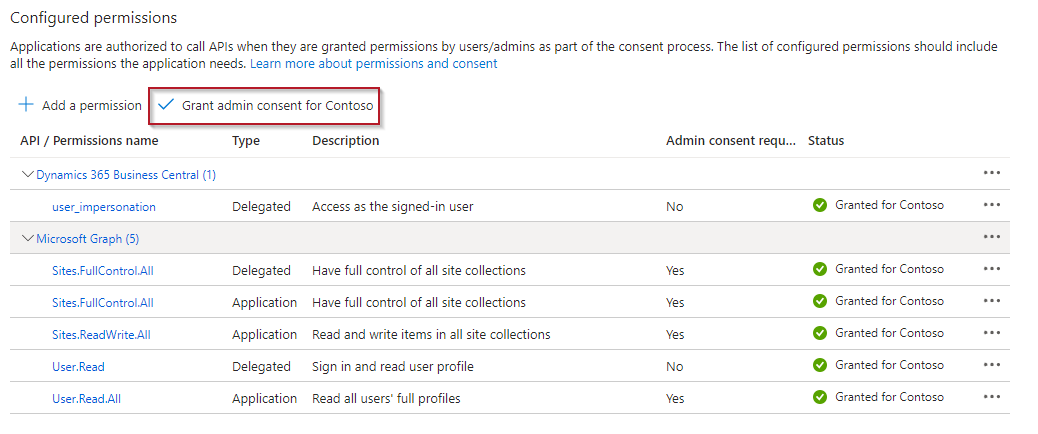
The authorization is now specified. This is an application authorization. The service should also be able to both read and write.
Therefore, set the authorizations as shown in the following screenshot:
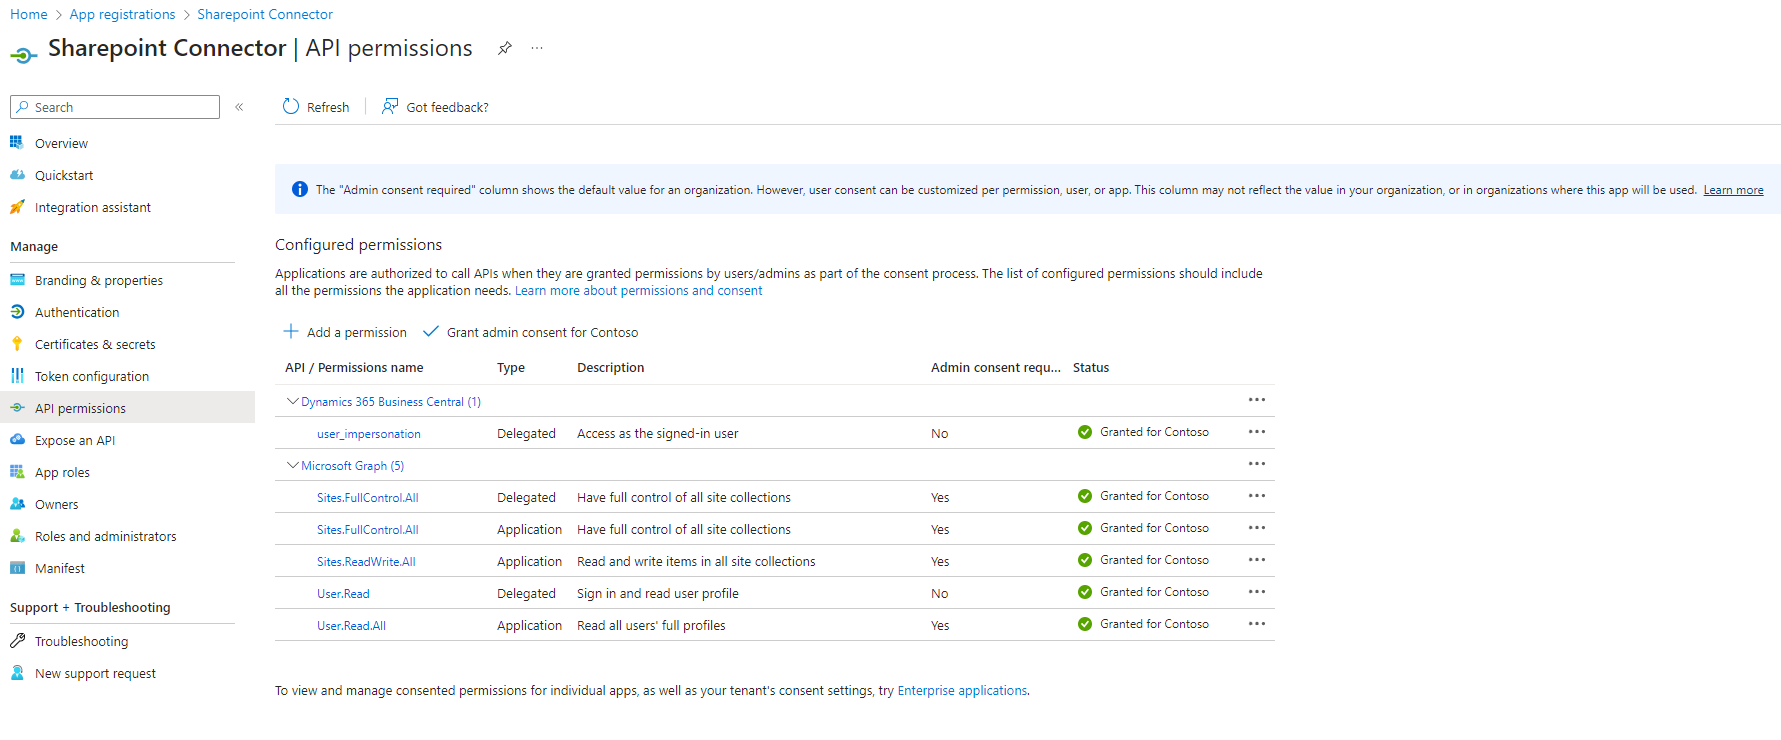
After you have saved the authorization, the authorization must still be granted an admin permission.
To do this, select Grant admin consent for Contoso.
Now all that remains is to enable authentication of the service.
To do this, open the Authentication page via the menu.
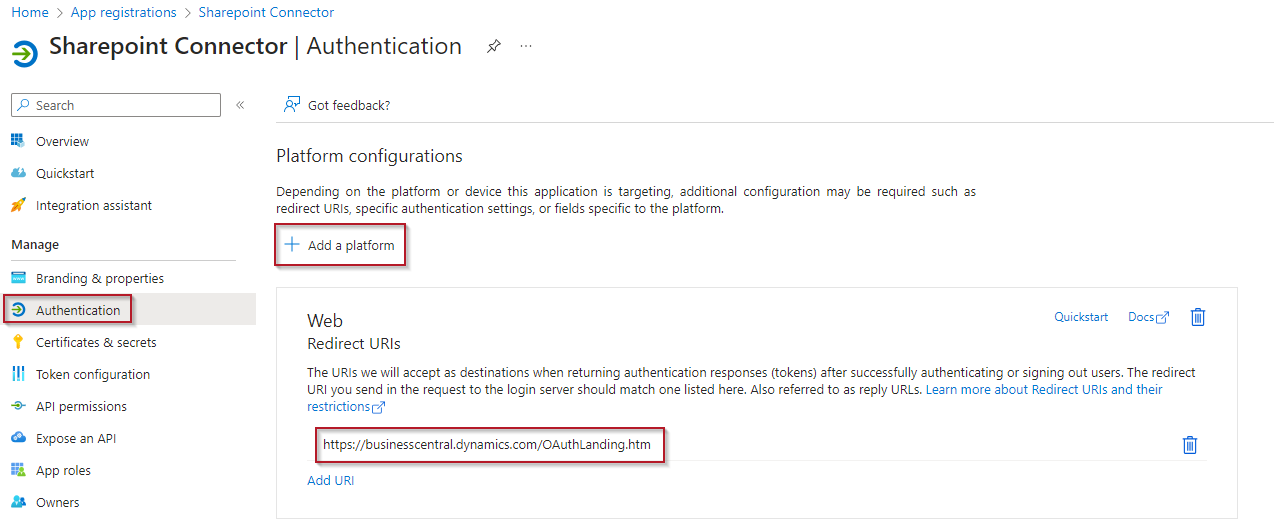
Add a Mobile and desktop applications configuration via Add platform.
Set up the redirect URI https://businesscentral.dynamics.com/OAuthLanding.htm in this configuration.
Preparation of the SharePoint
There must be at least one site and one document folder that can be accessed by the SIEVERS Connector to SharePoint.
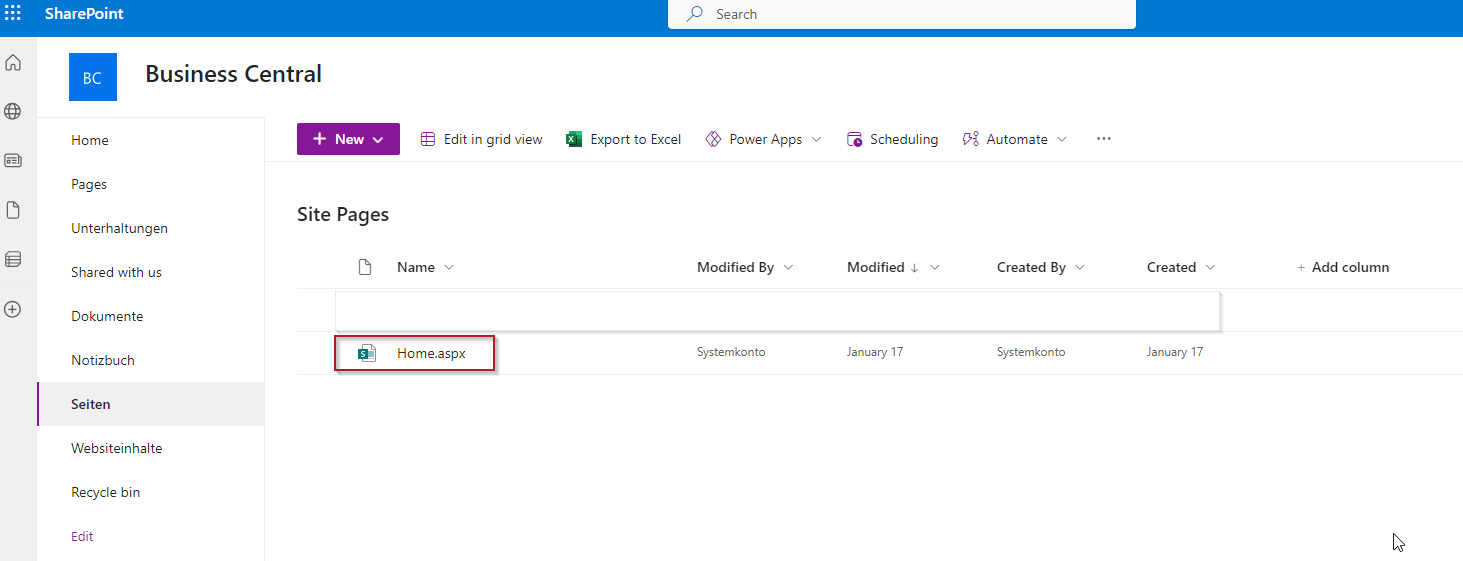
On this page, the folders for customers and vendors are created and the files of the Business Central documents are stored.
This page can be selected later in the setup wizard see Setup in BC using the setup wizard.
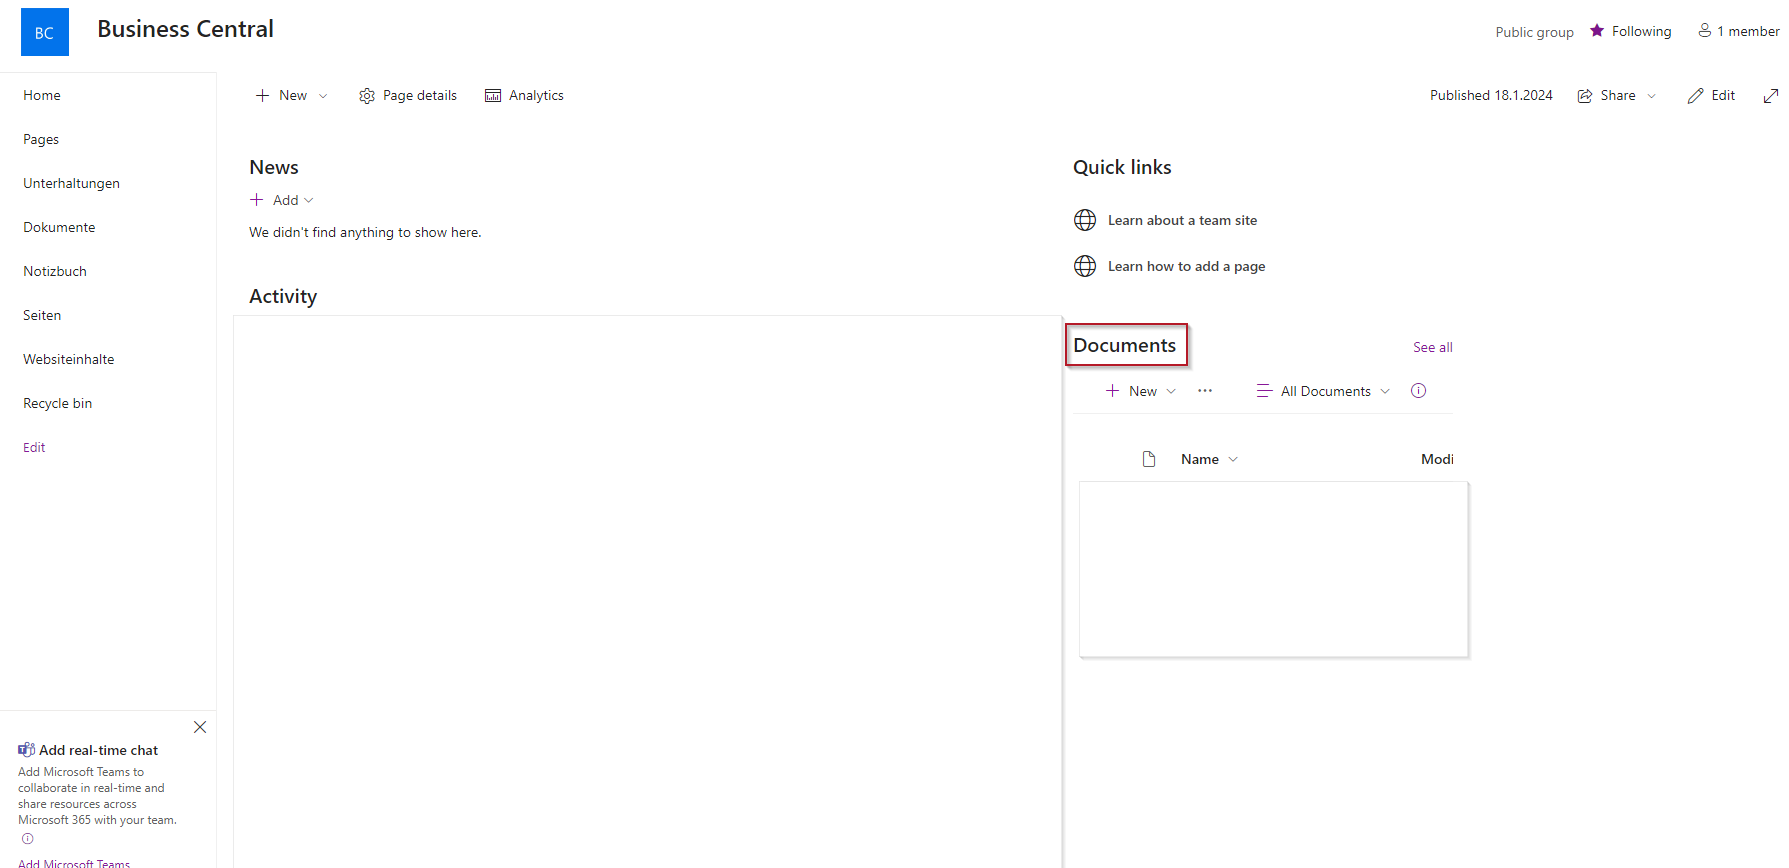
Create site
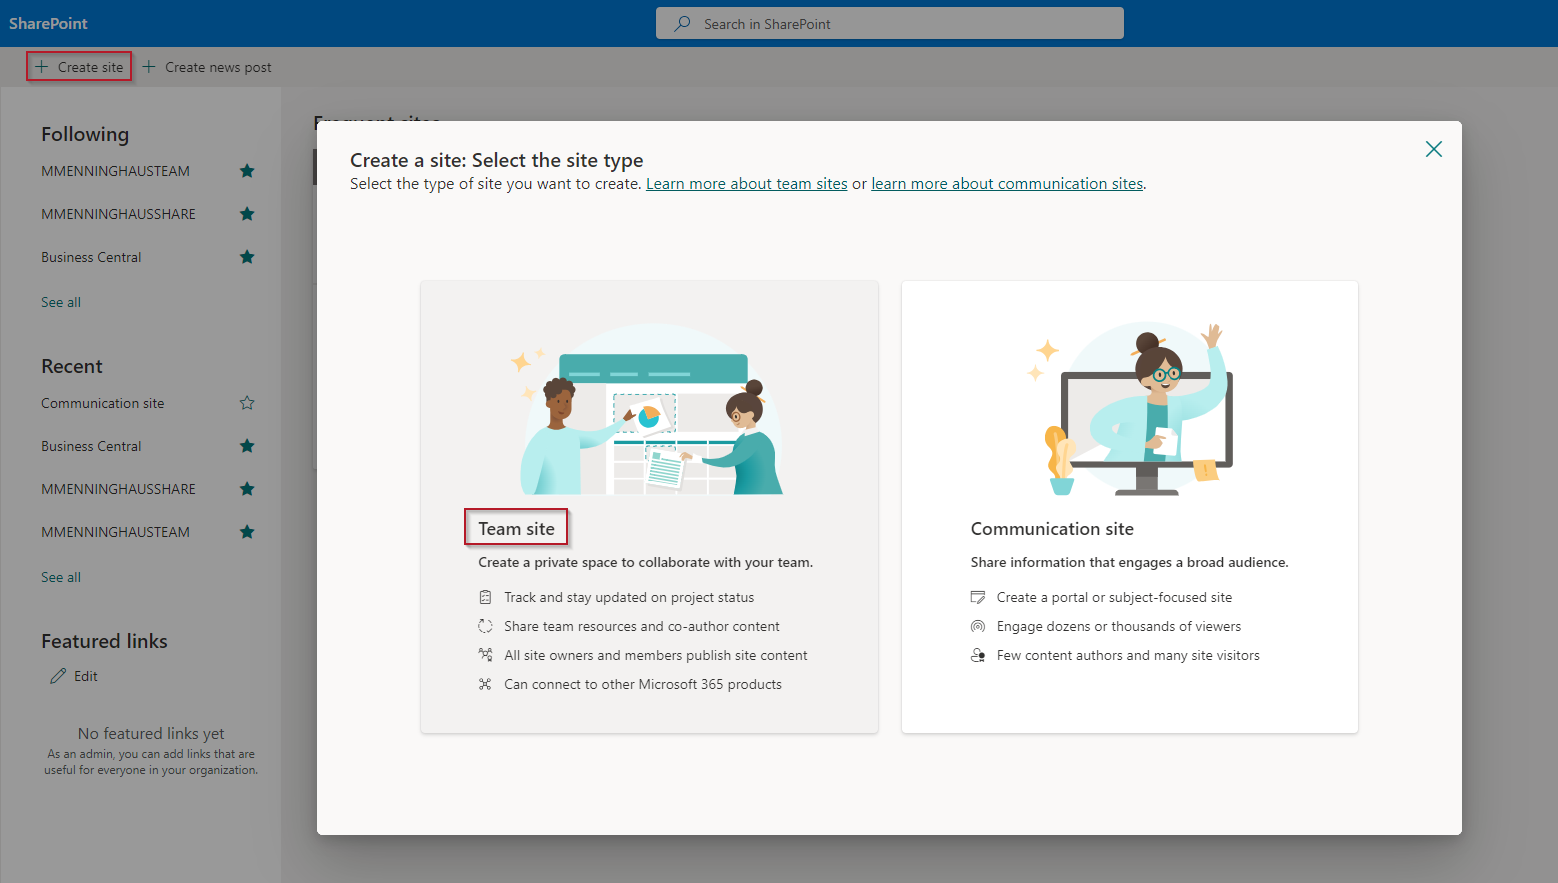
If a specific site has not yet been setup, a new site can be created via the SharePoint wizard using Create site. Select Team site.
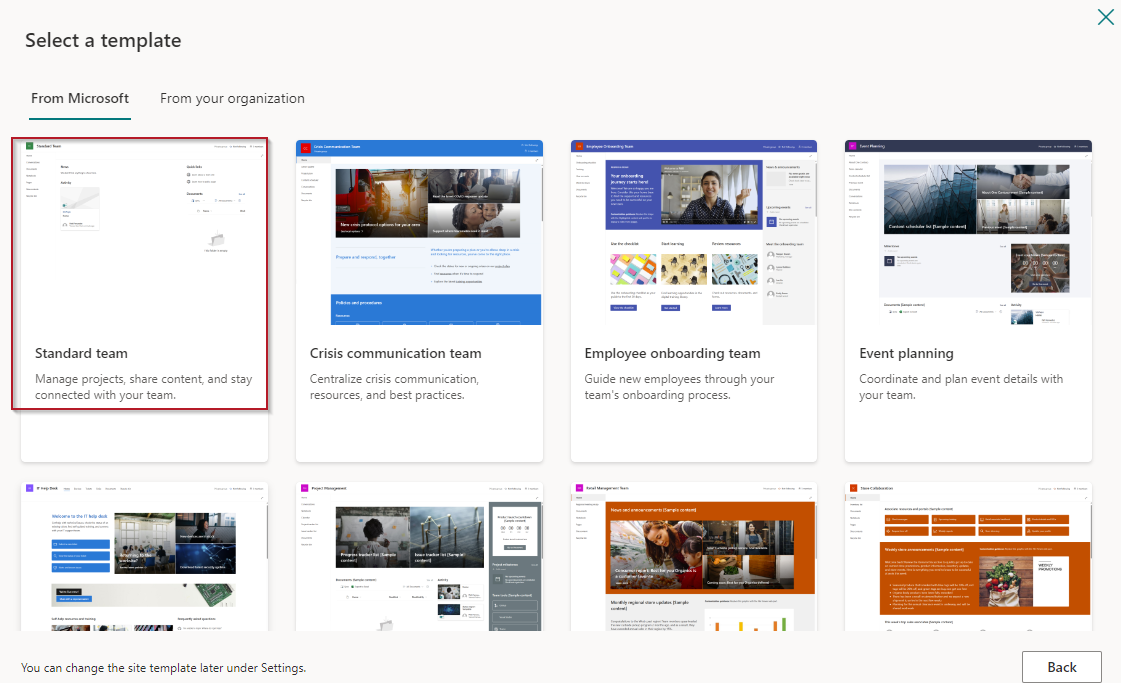
Select from a template.
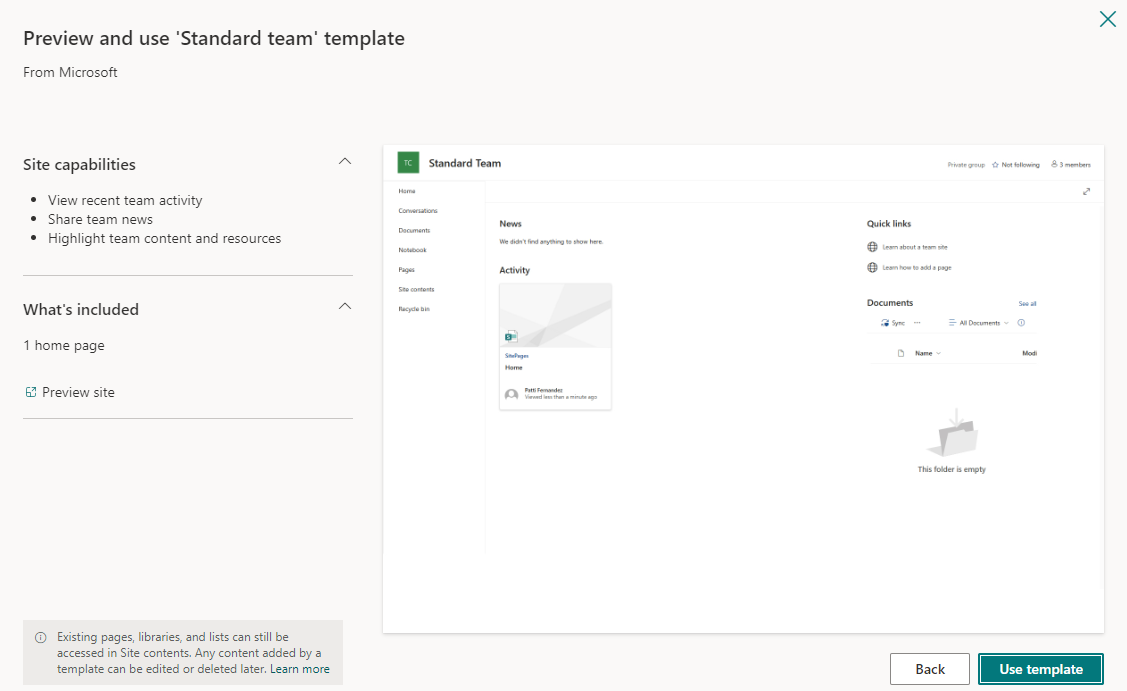
Confirm the utilization of the template.
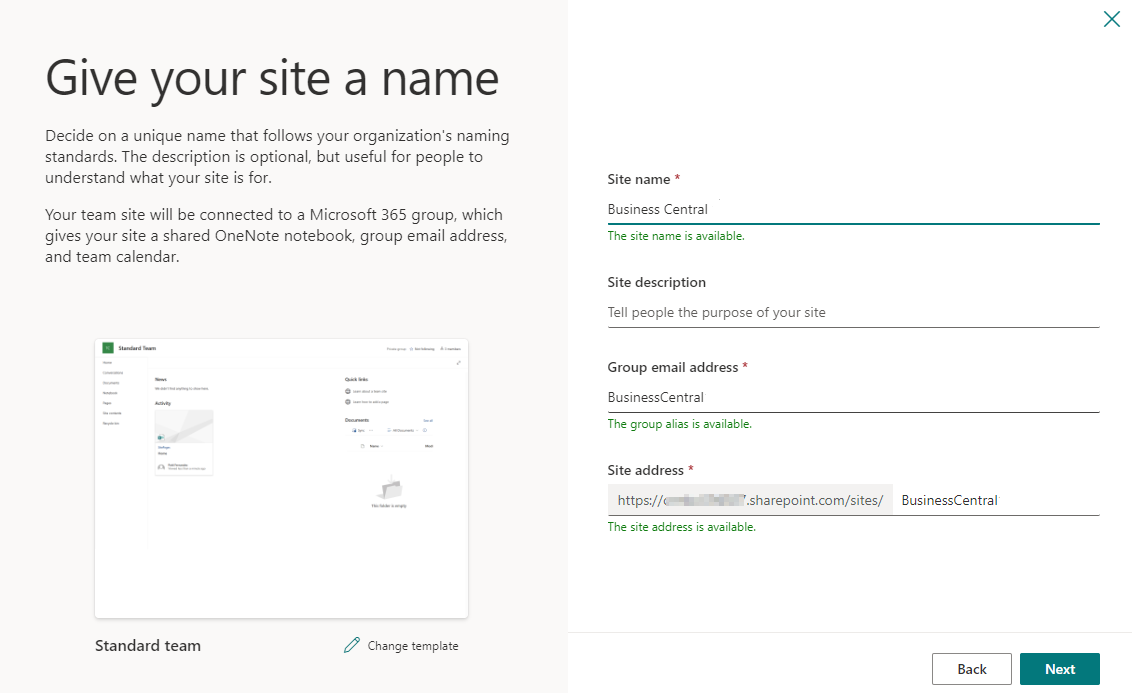
Give the page a name.
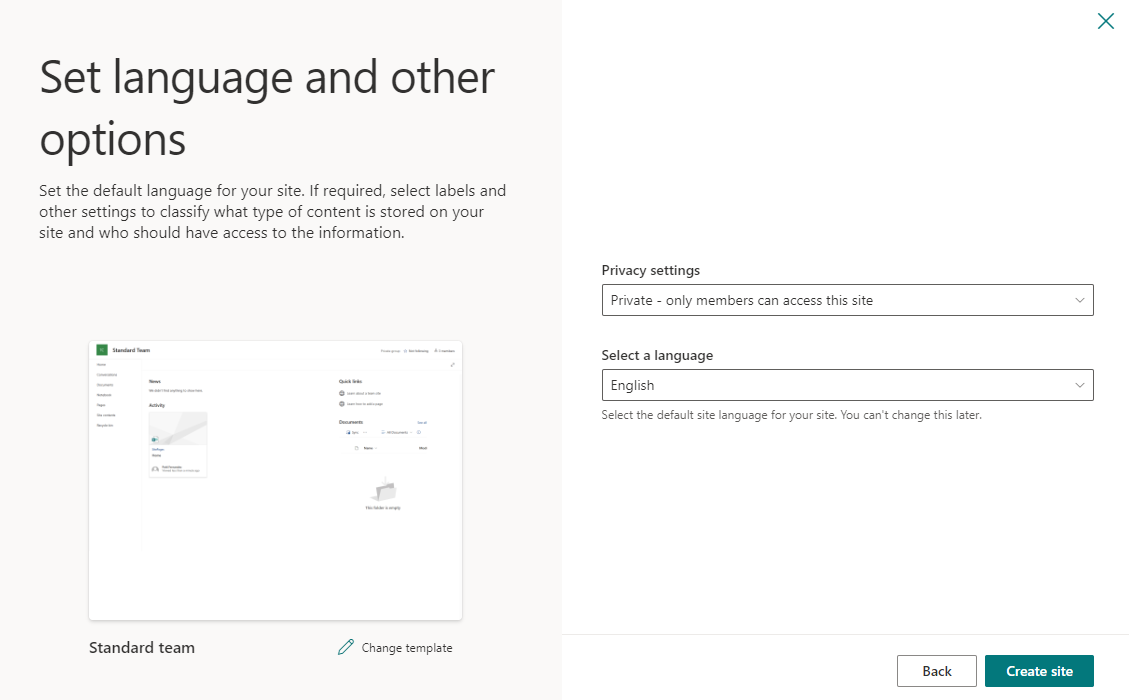
Here you can set who has access to the site and select a language. Click on Create site to create the site.
Setup in BC Using the Setup Wizard
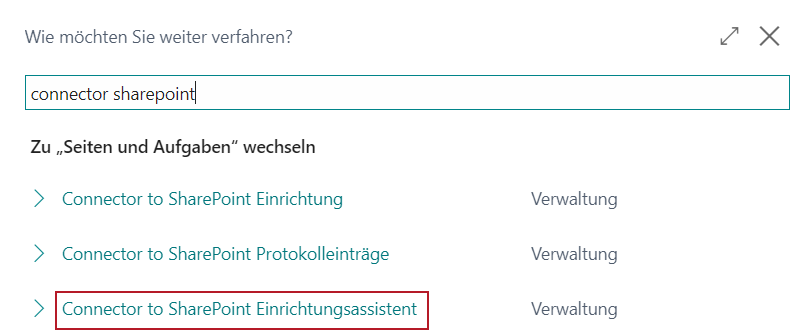
The SIEVERS Connector to SharePoint offers the option of setup via the setup wizard. This allows the relevant settings to be made directly. To open the wizard, enter Connector to SharePoint in the search bar and then click on the highlighted entry:
This wizard will guide you through all the necessary steps to setup the SIEVERS Connector to SharePoint.
Setup wizard step 1: Welcome
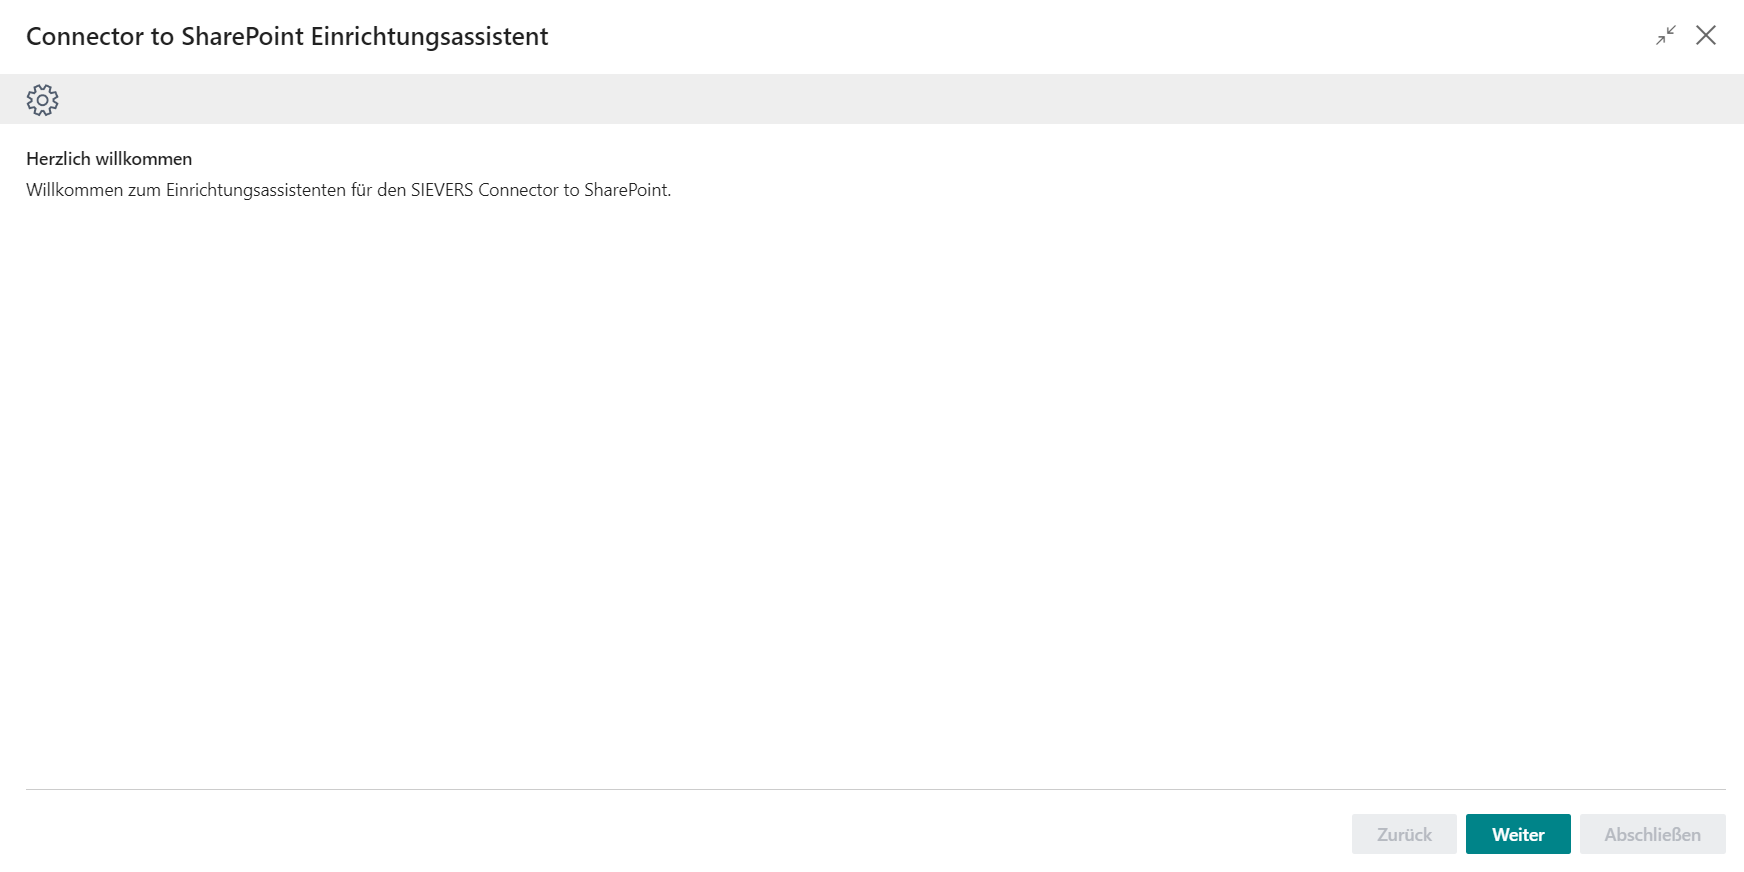
Click Next to proceed to the next step.
Setup Wizard Step 2: Prepare Azure App Registration
This step provides brief instructions on how to create the Azure App registration.
For an illustrated and detailed explanation, go to App registration in the Azure portal.
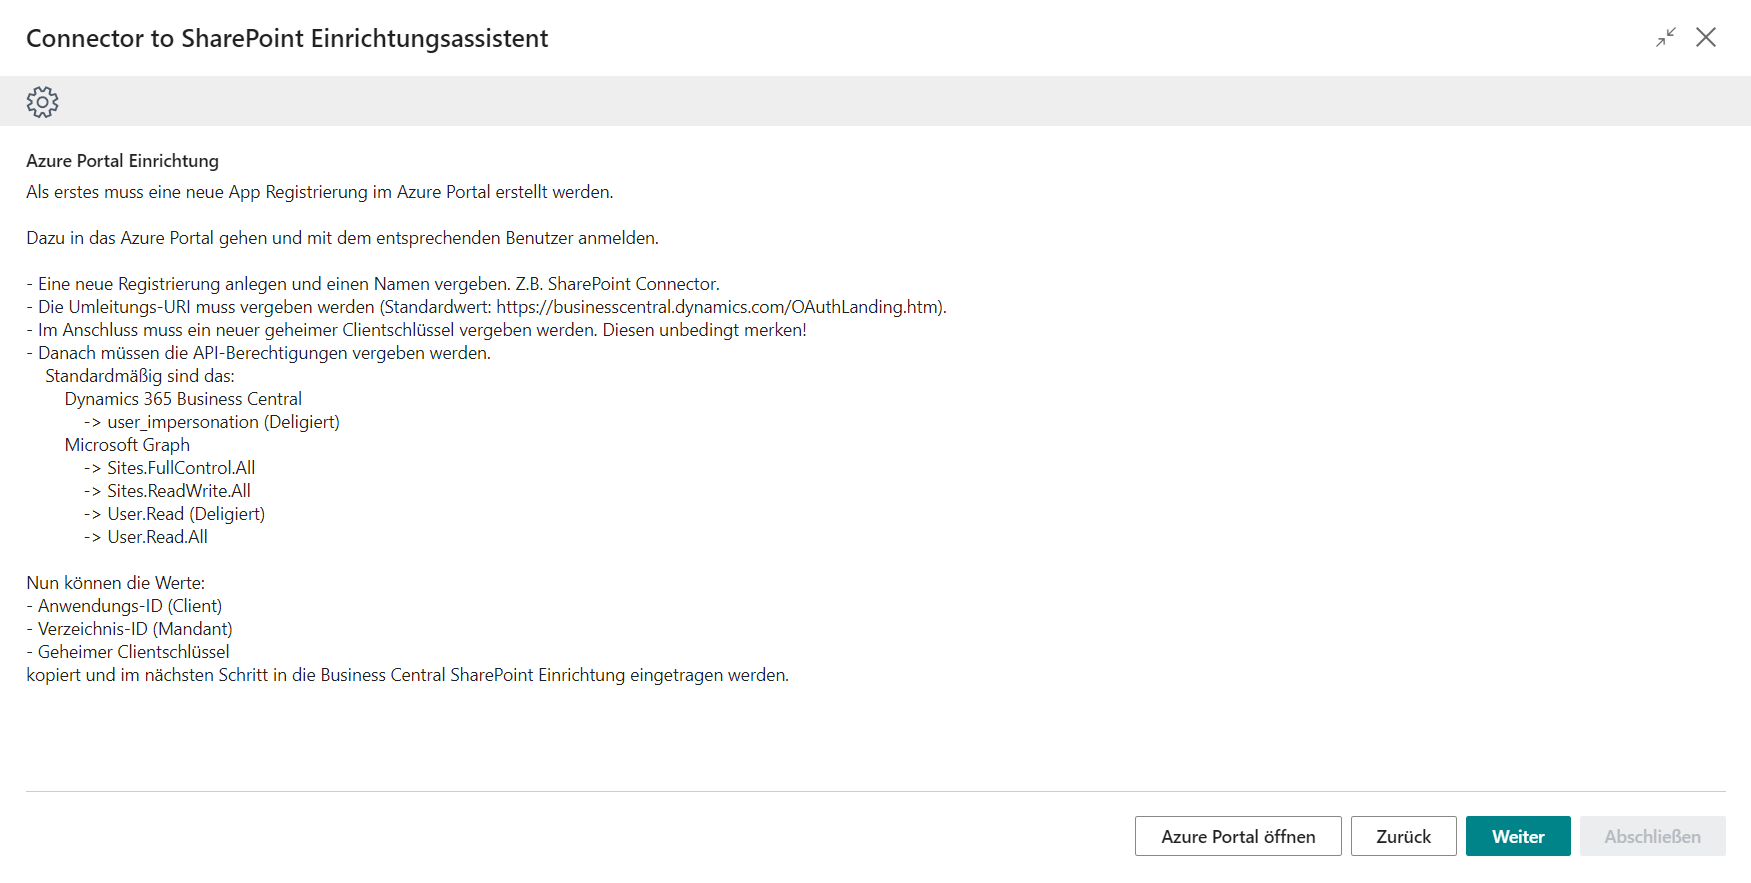
Once you have successfully created the app registration, go to the next step and enter the previously created login data.
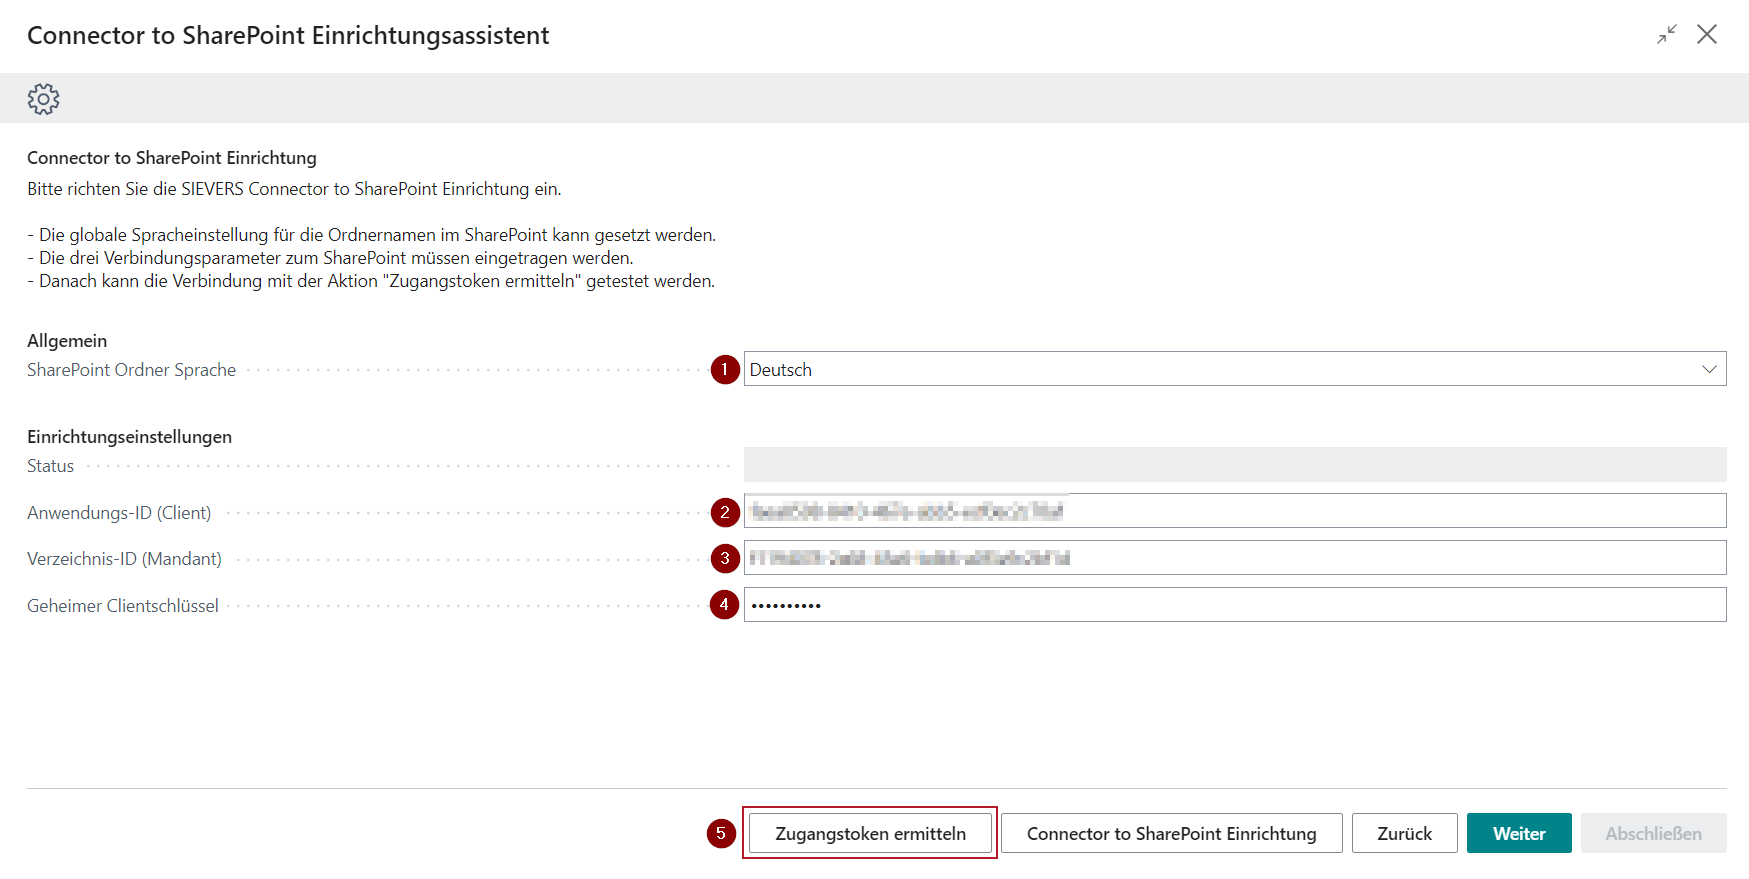
Setup Wizard Step 3: Establish Connection to the App Registration
In this step, you first specify the language in which the document folders are created on the SharePoint.
English and German are currently available here.
Then enter the login data from the Azure portal in the three fields.
Fill the fields with the previously saved info from the app registration.
The connection can then be checked via Get Access Token.
If the connection could be established, a confirmation message is shown.
If the connection could not be established, go back to the chapter App registration in the Azure portal and check the app registration for possible errors. Copy the displayed login data and try again. Then continue to connect the SharePoint with the Connector to SharePoint.
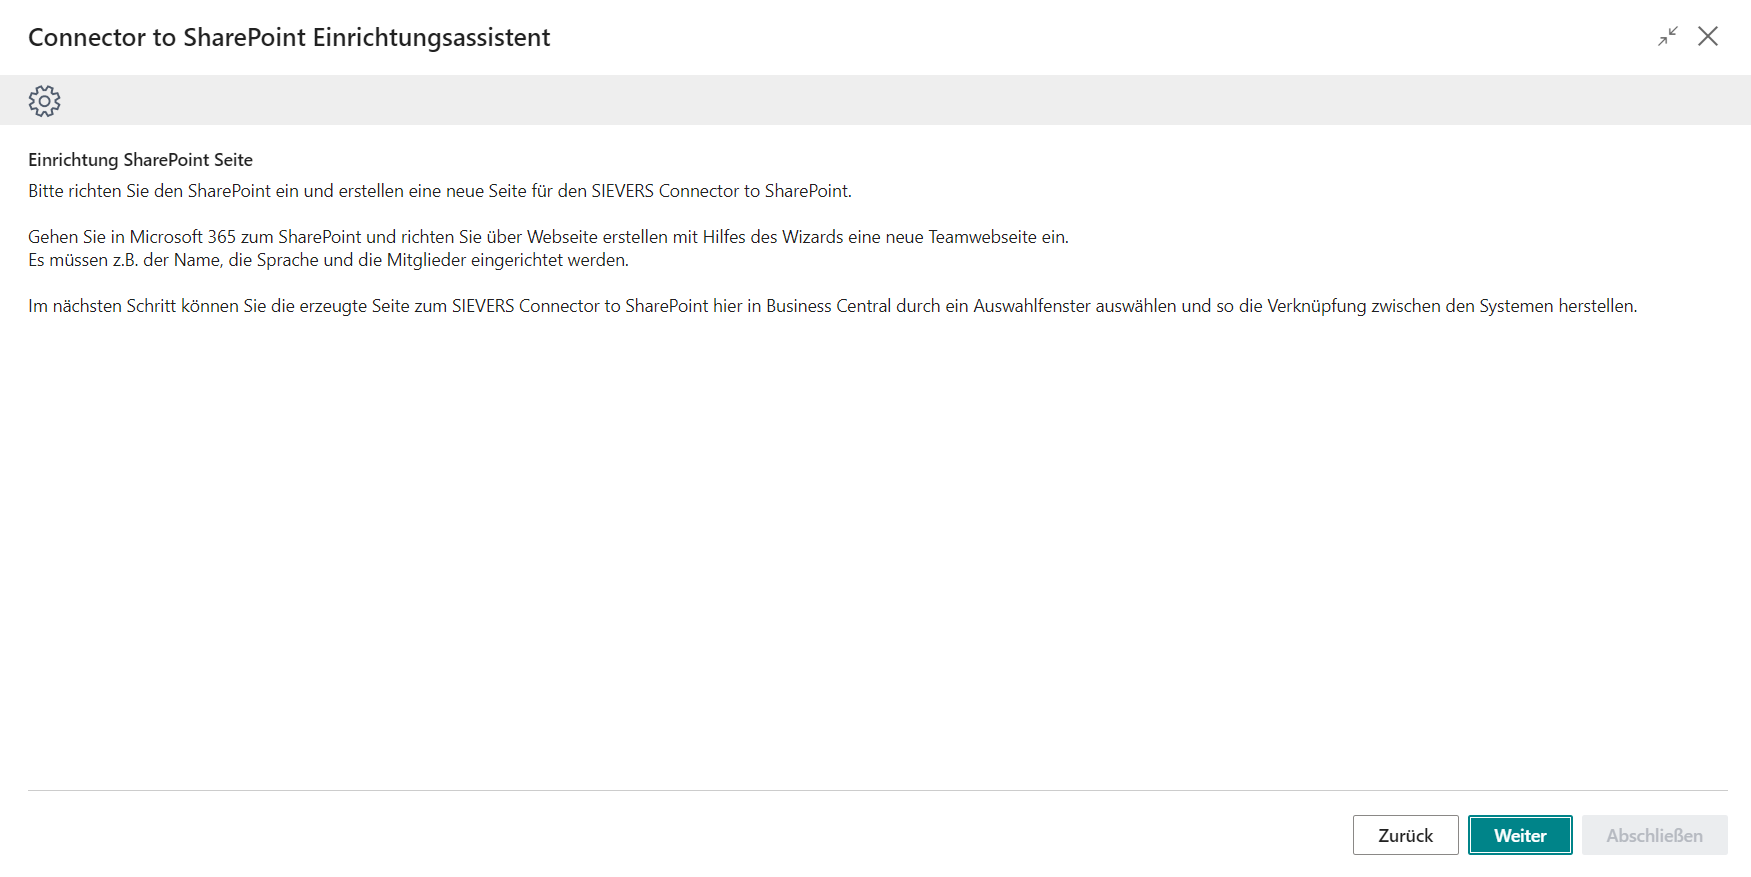
Setup wizard Step 4: Prepare SharePoint
The chapter Preparation of the SharePoint explains how to create a new page.
Setup wizard step 5: Select SharePoint folder
Click on Select SharePoint site and shared document folder.
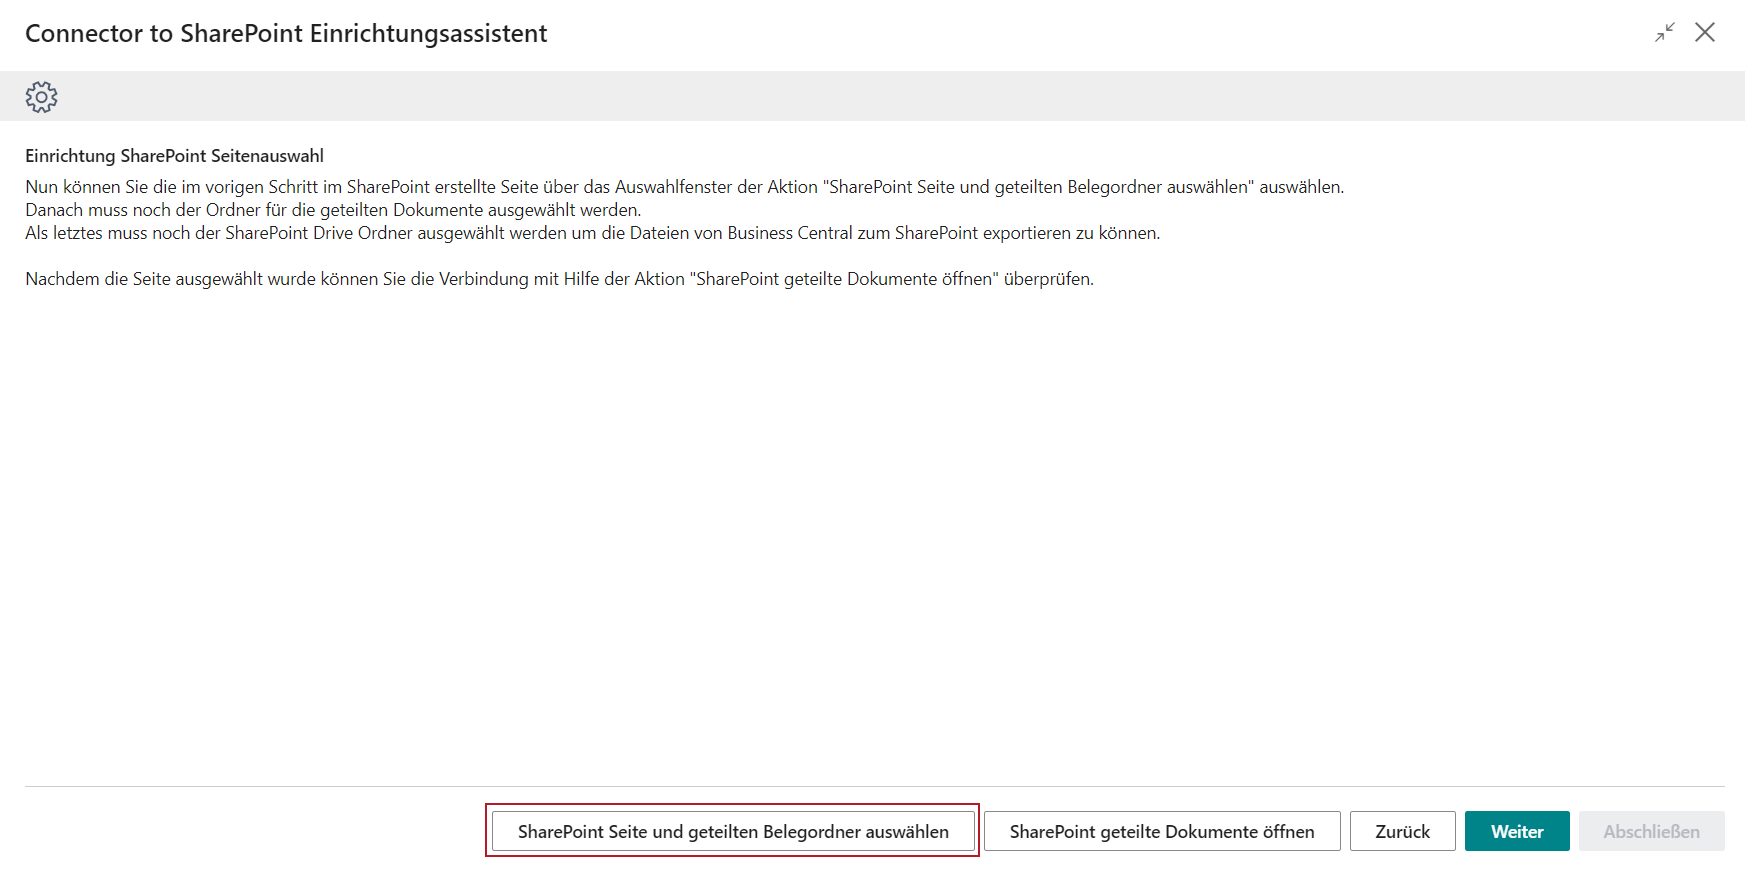
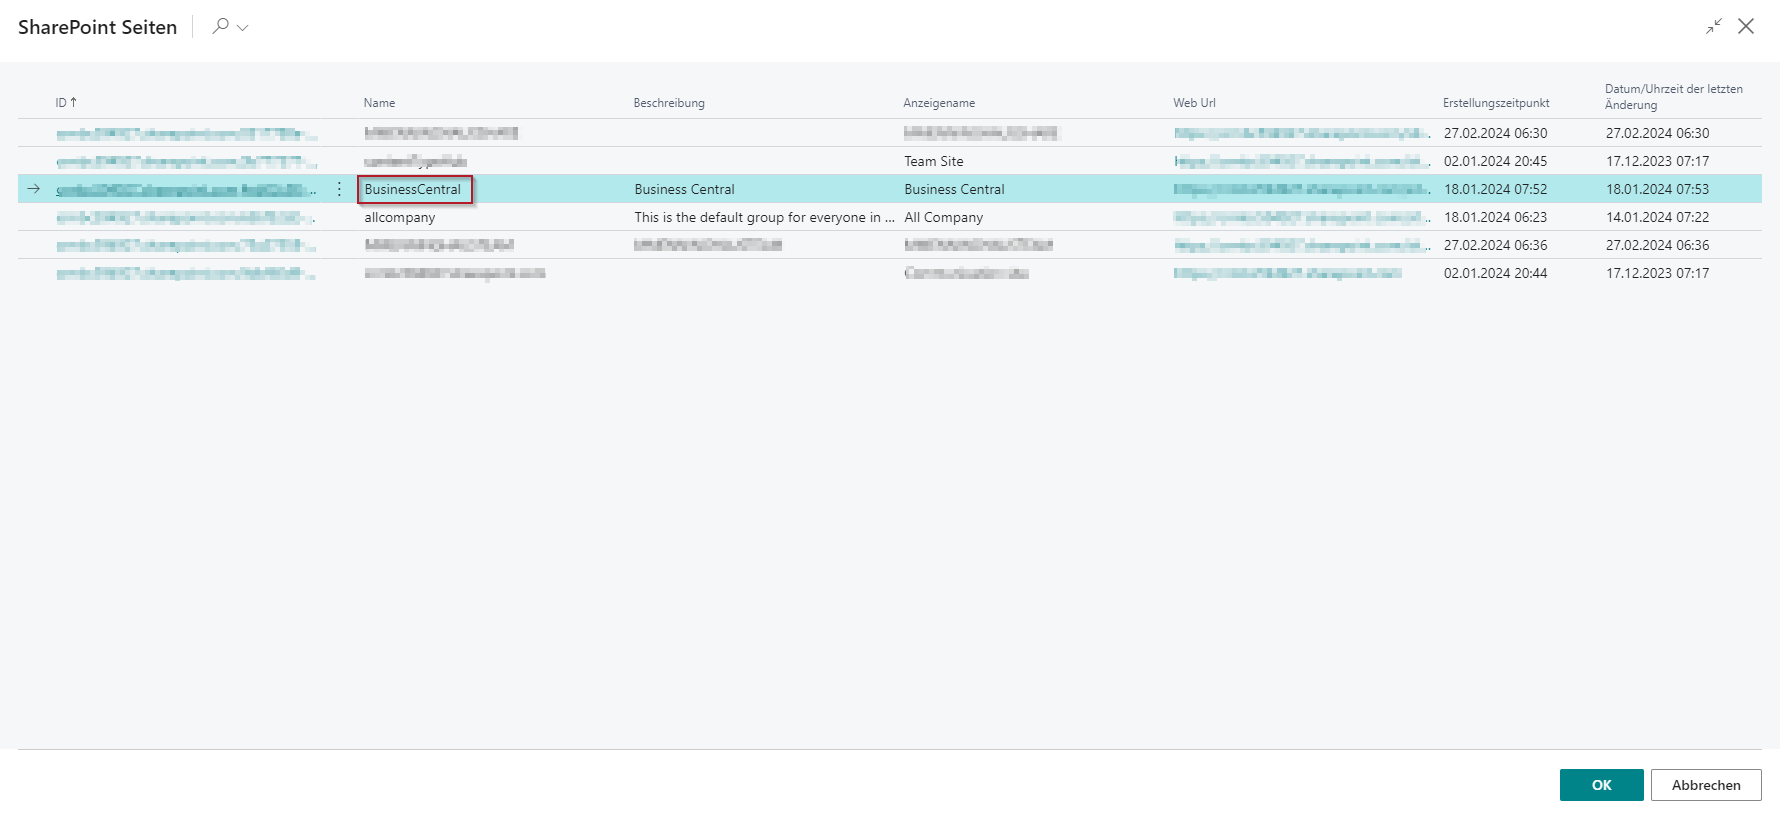
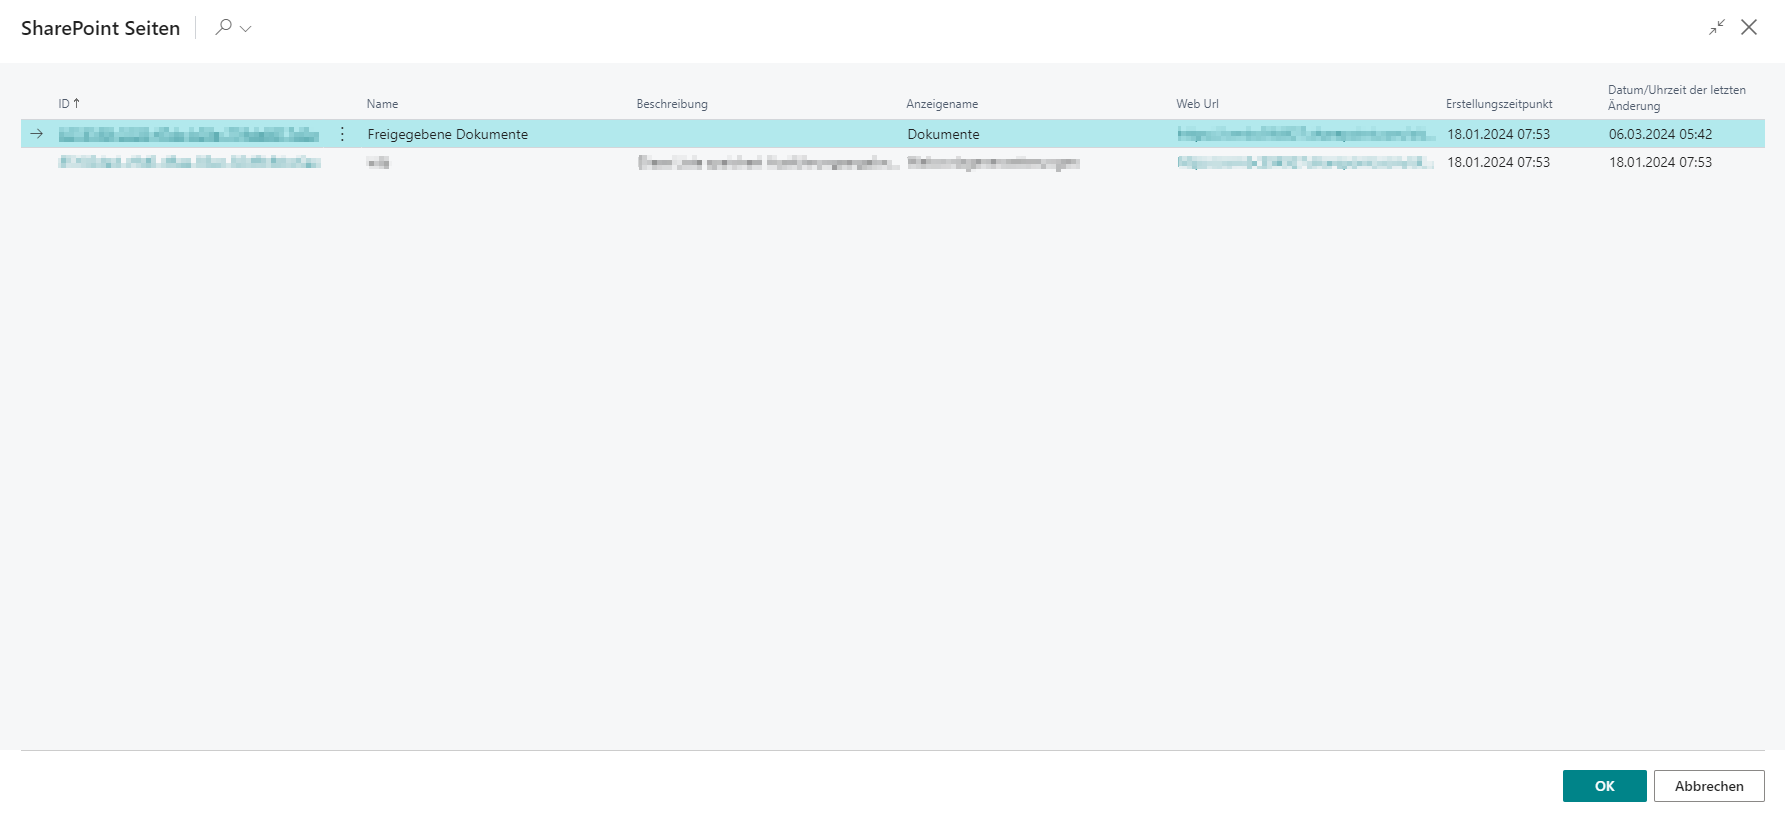
An overview of the pages on the SharePoint opens.
Select the corresponding page in which the Business Central document files are to be stored later.
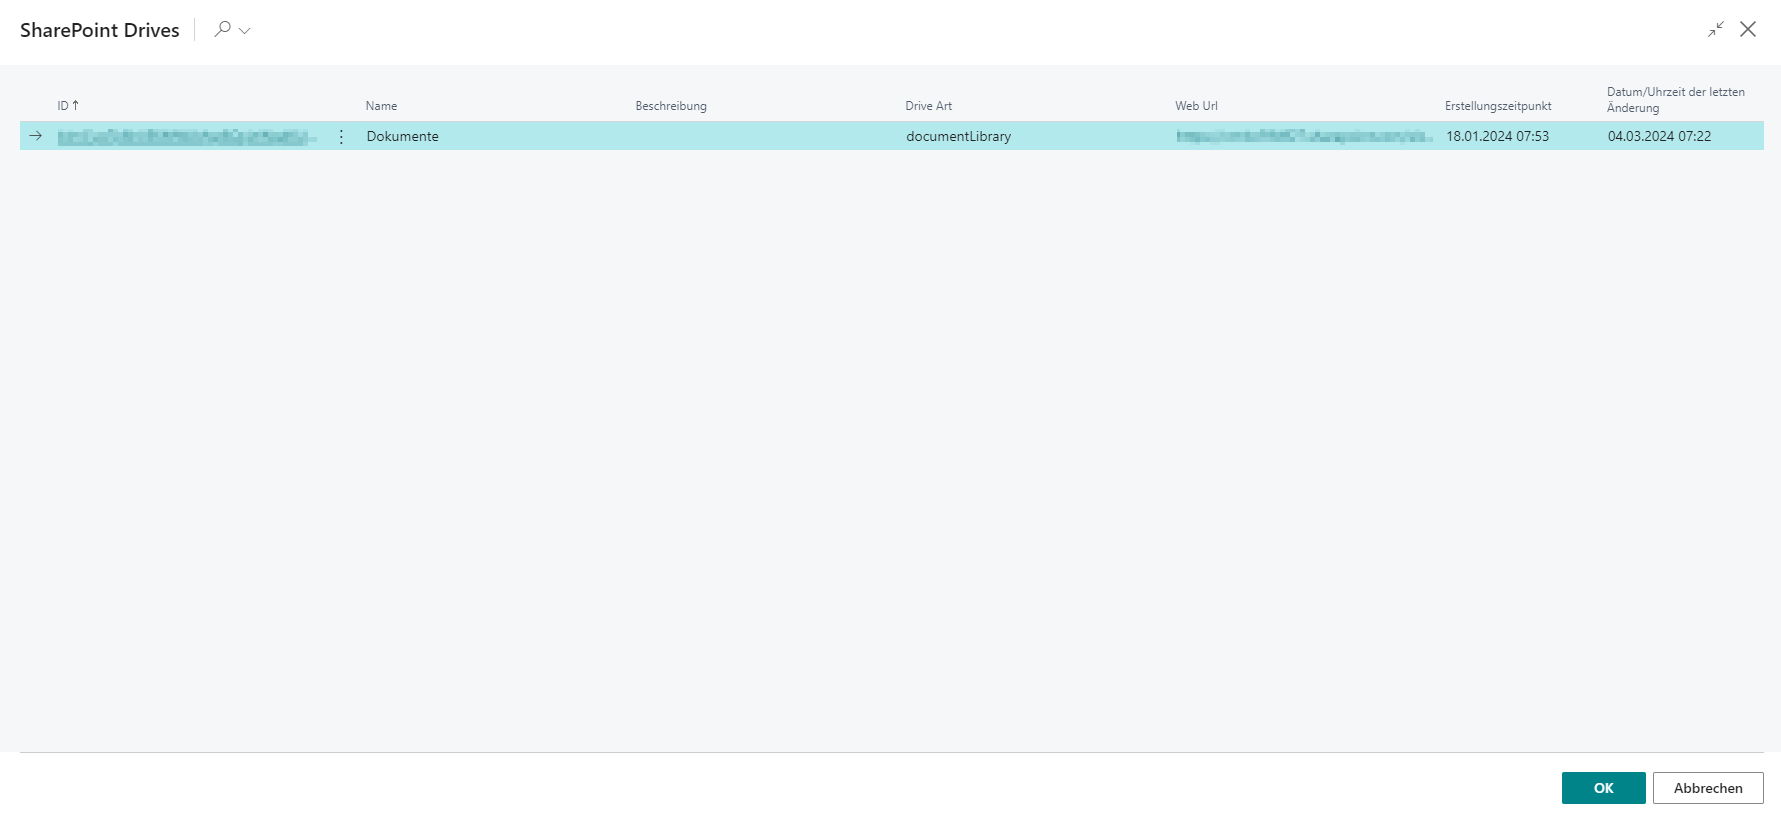
Now select the folder in which the files are to be stored.
To be able to store the files on the SharePoint, the Connector to SharePoint must know the Drive Id. This is selected in the following query.
Congratulations! You have now established the link to SharePoint.
You can now check again via Open SharePoint shared documents whether the correct folder has been selected.
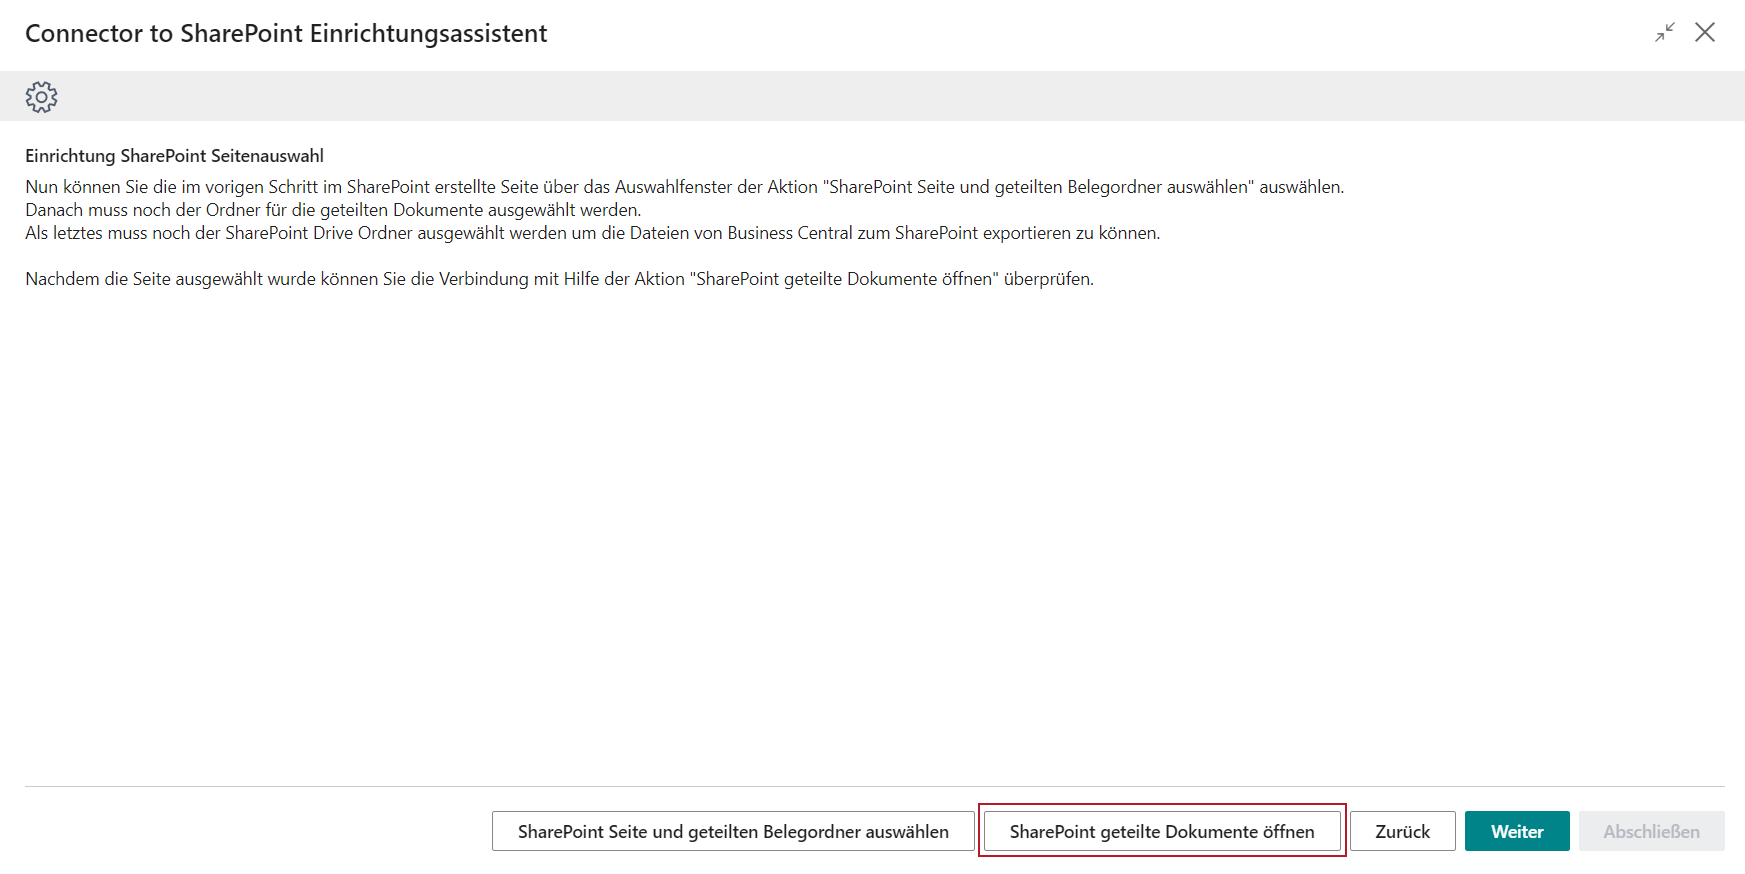
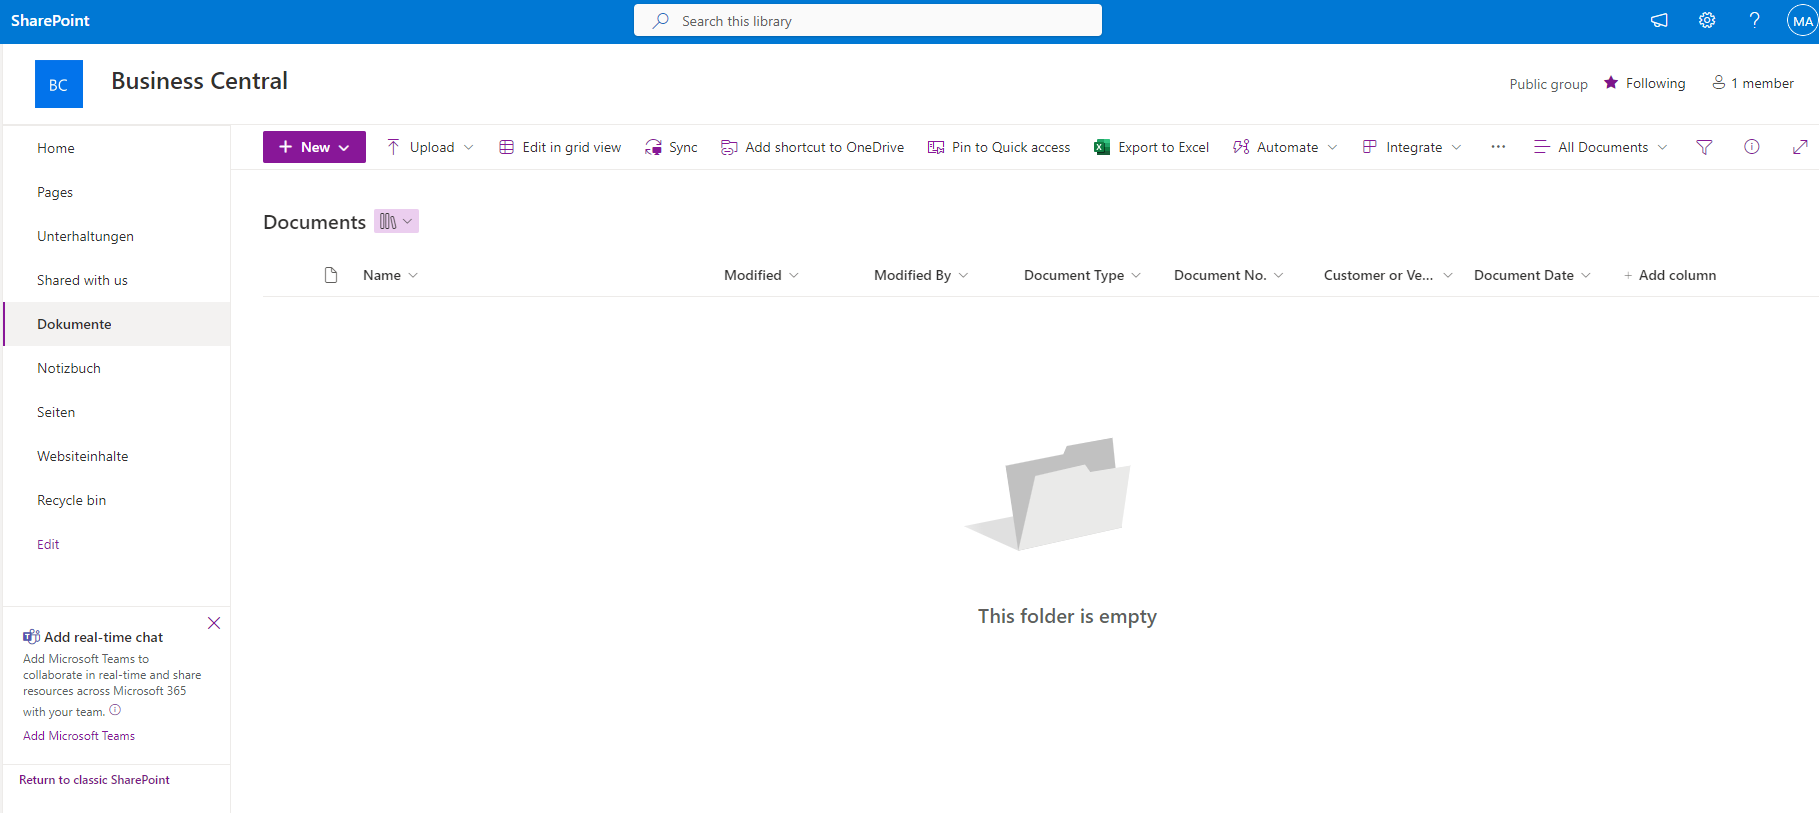
After clicking on the button, SharePoint opens in a new browser window and shows the documents.
In this first step, the folder should still be empty, as the folder structure of the SIEVERS Connector to SharePoint will be created here later.
Continue once you have successfully established the connection to SharePoint.
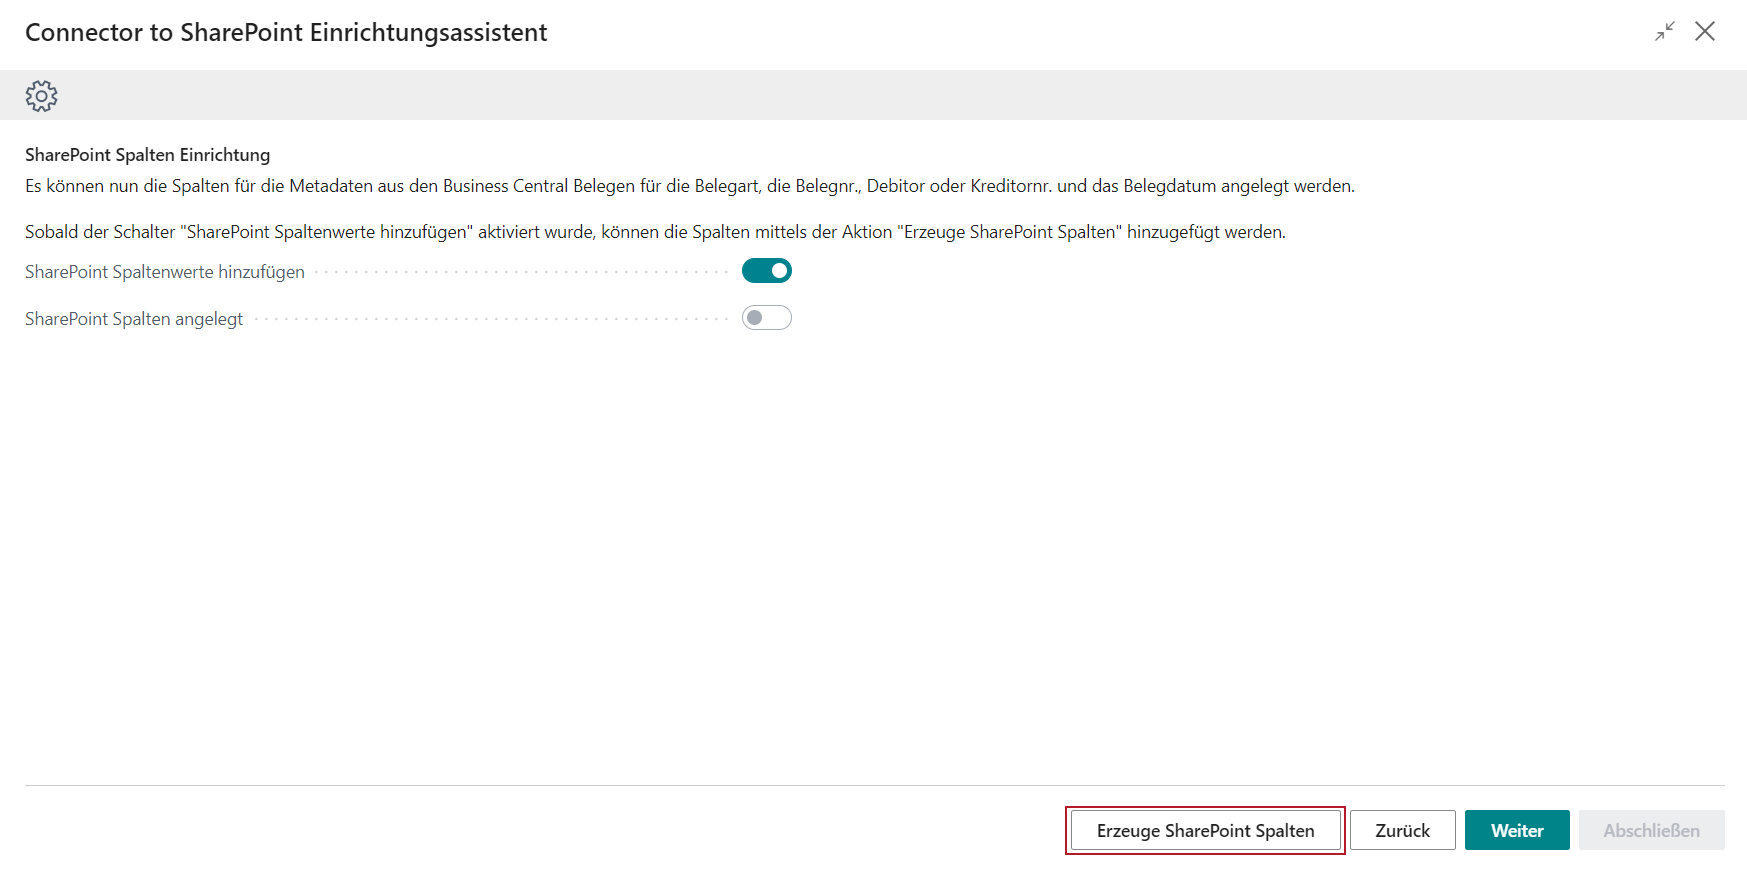
Setup wizard step 6: Add columns for metadata
In this step, you have the option of creating new columns for metadata in SharePoint.
It can automatically be assigned to
- the document type
- the document no.
- the customer or vendor no. associated with a document
- the document date
in the background when a document is transferred.
Hinweis
This is not possible if files are transferred via drag and drop.
The Add SharePoint column values switch must first be activated.

The columns can then be added using the Create SharePoint columns button.
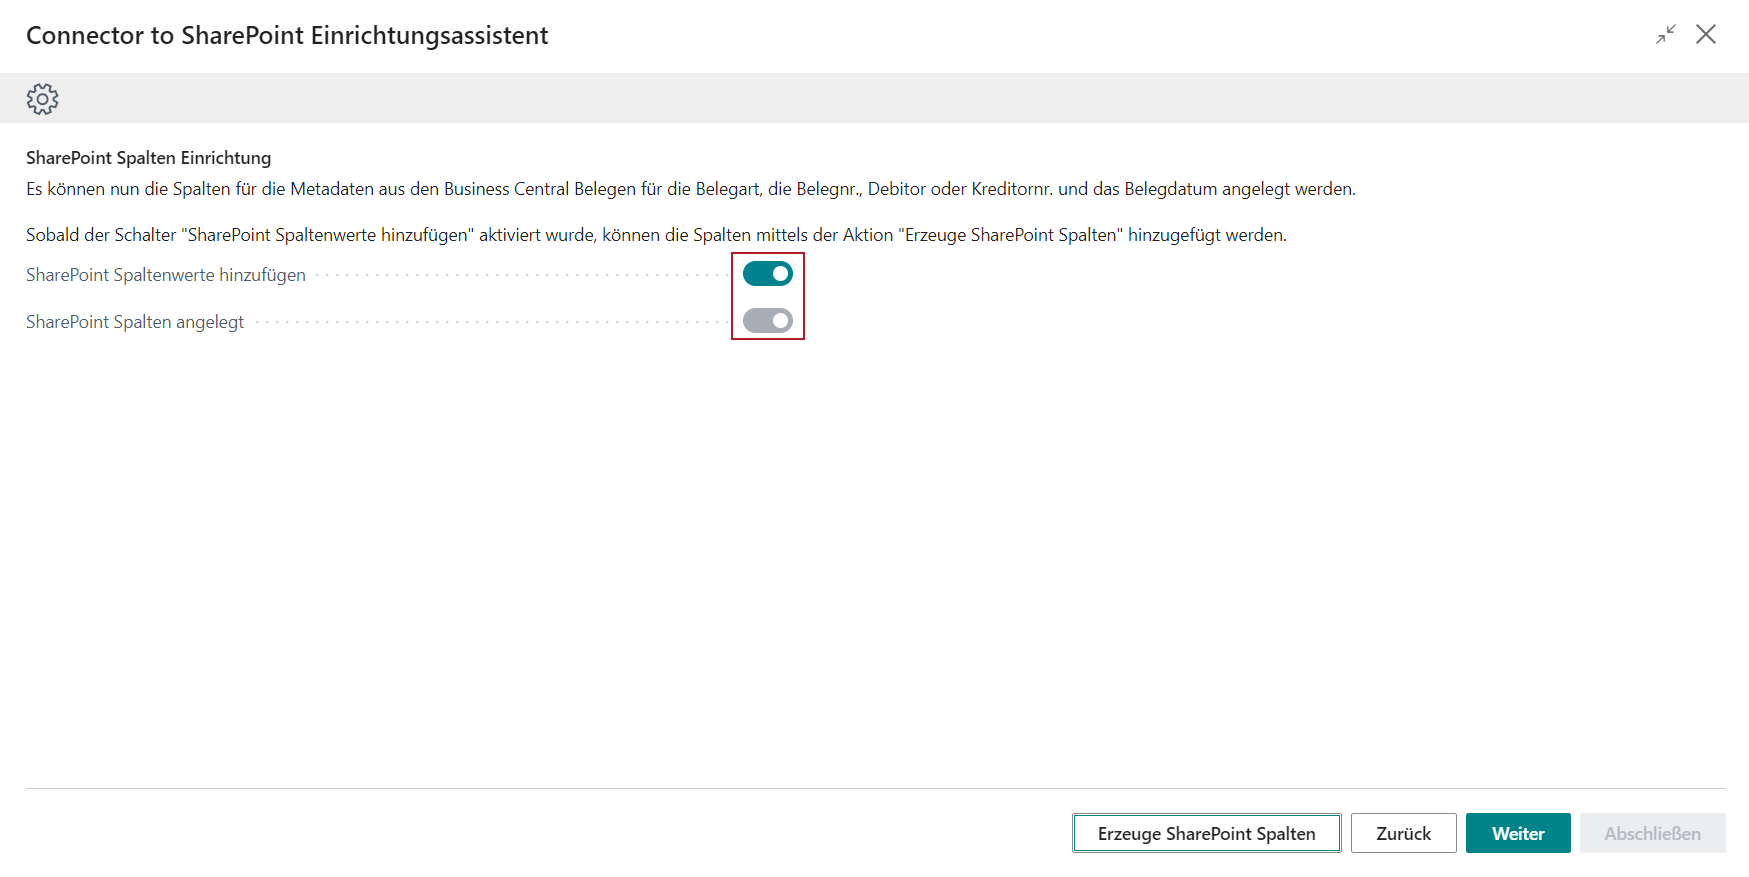
The new columns have been added to the SharePoint:

This is shown by the SharePoint columns added indicator in Business Central:
Continue and set up the document types whose files are to be exported to SharePoint in the next step.
Setup Wizard Step 7: Document Export Setup
Open the SharePoint setup
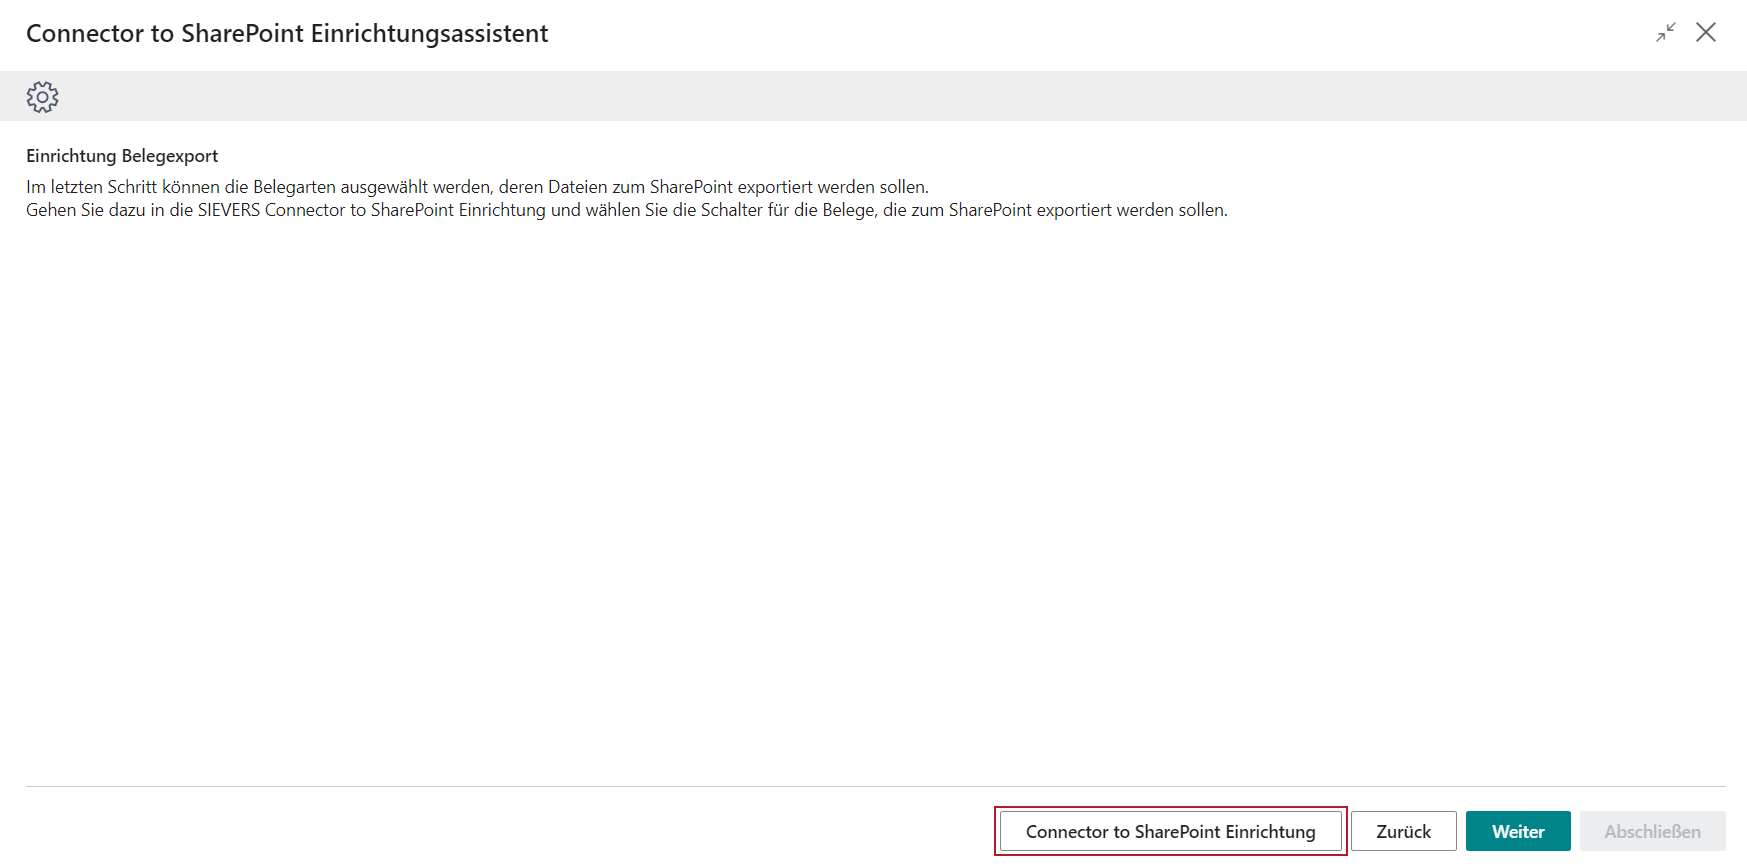
Here you will find the document types for export in the lower area. Specify whether you want to make settings before each file export. You can also select which document types are to be exported here.
Setup Wizard Step 8: Posted Documents Transfer Setup
In this step, you can decide which process you want to use to transfer the documents. Here you can choose between After Posting and Job Queue. The first option means that the export always takes place immediately after posting. This is the default setting and is recommended. If you encounter problems, for example because the transfer takes too long, you can also switch to the job queue. For more information, read the field description on the setup page.
Setup Wizard Step 9: Complete setup
After closing the setup, the setup wizard can be completed in the last step.
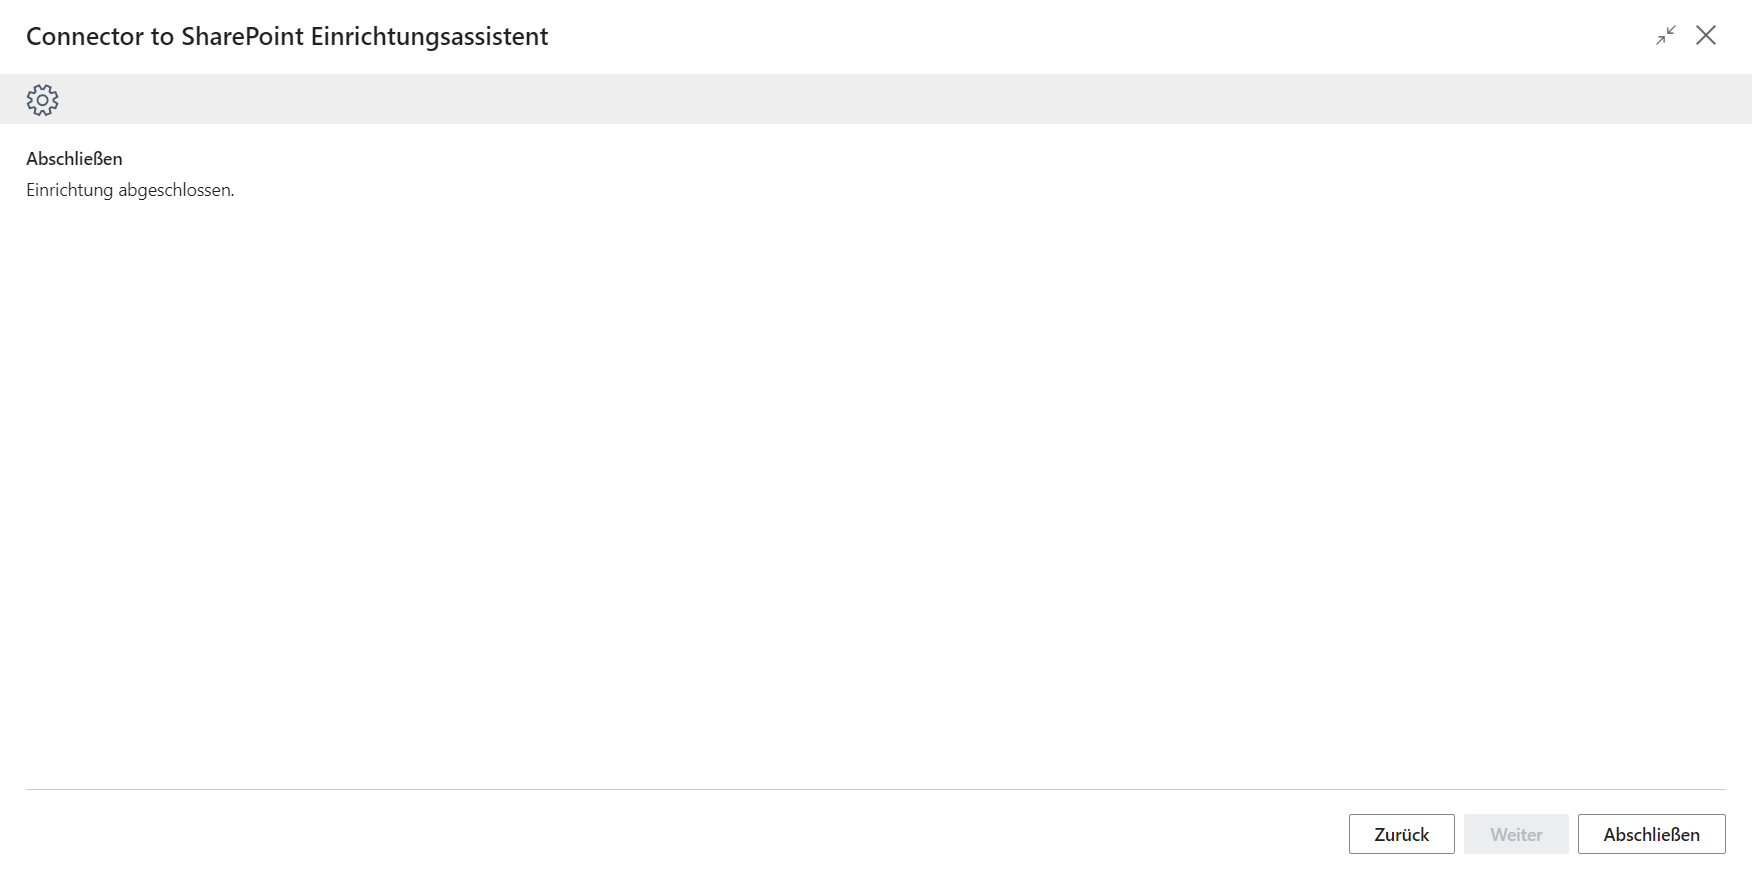
The Connector to SharePoint is now fully set up and ready for utilization.
Connector to SharePoint setup
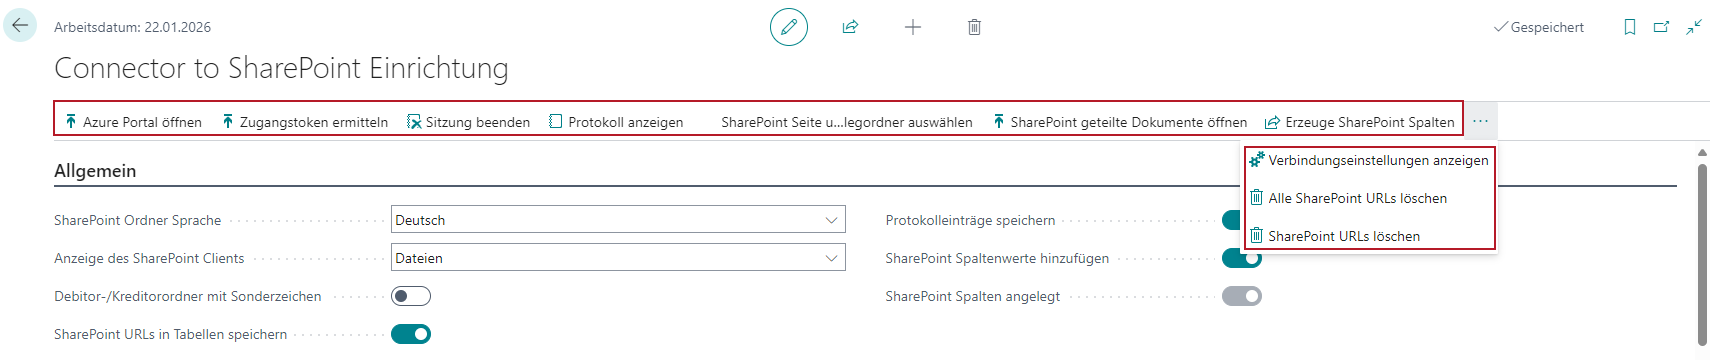
Menu
In the menu ribbon you will find the actions to
- open the Azure Portal in a new browser window
- to check the access and determine the token.
- to end the session and the connection
- to select the SharePoint site and the shared document folder
- to open the previously selected page on the SharePoint in a new browser window
- to create the additional SharePoint columns, if this has not yet been done via the setup wizard
- to show the connection settings
- If the Save SharePoint URLs to tables switch has been activated, the two buttons All Delete SharePoint URLs and Delete SharePoint URLs are shown.
- In the Related menu, you will find links to settings and tables for transfer with job queue entries.
Delete SharePoint URLs
The Delete all SharePoint URLs button deletes the URLs from all supported tables so that the data is reloaded from SharePoint when the pages are opened. This is useful if you need to make major structural changes to SharePoint.
In general, however, changes to the file structure set up once by the Connector to SharePoint should be avoided.
The button Delete SharePoint URLs offers the possibility to delete URLs from the supported tables via a filterable report.
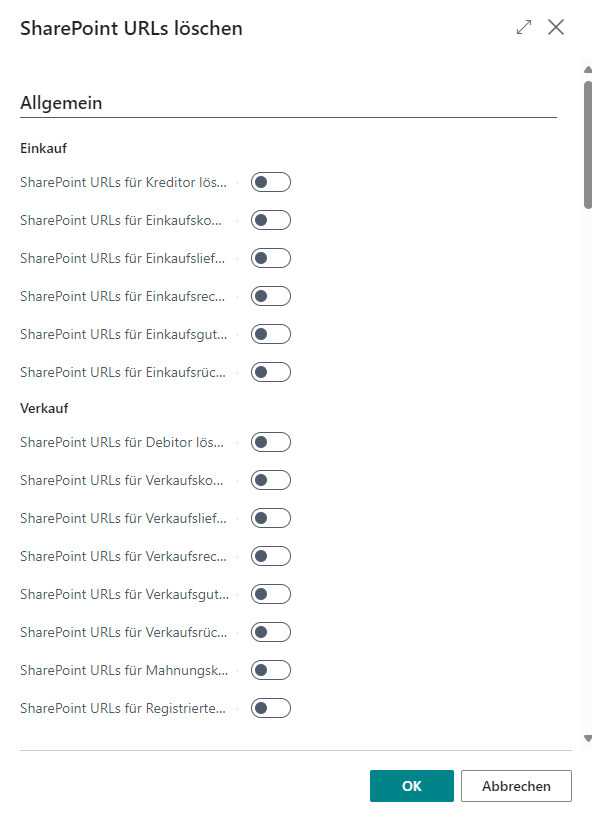
The buttons can be used to select the tables whose SharePoint URLs are to be deleted.
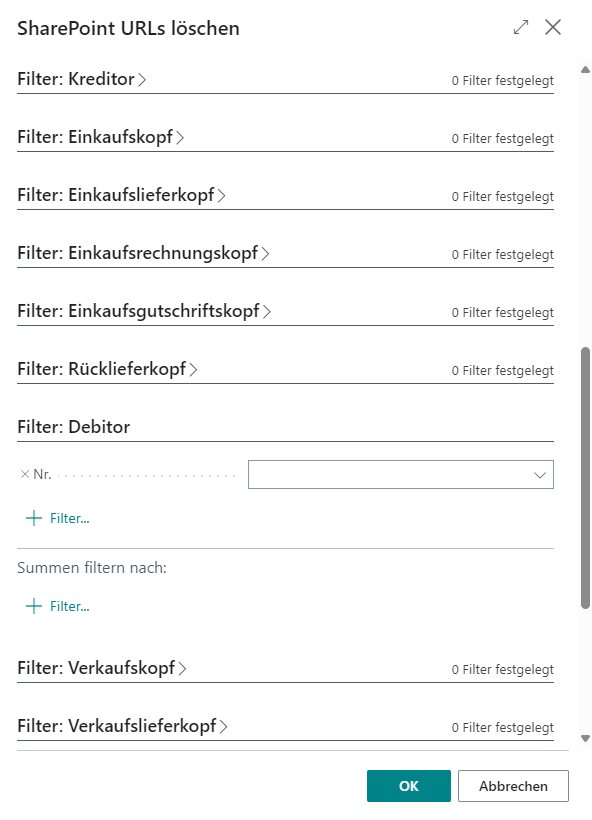
The No. filter can be used to filter the relevant data records whose SharePoint URLs are to be deleted. If no filter has been set for a no., all data records that have a SharePoint URL entered are run through.
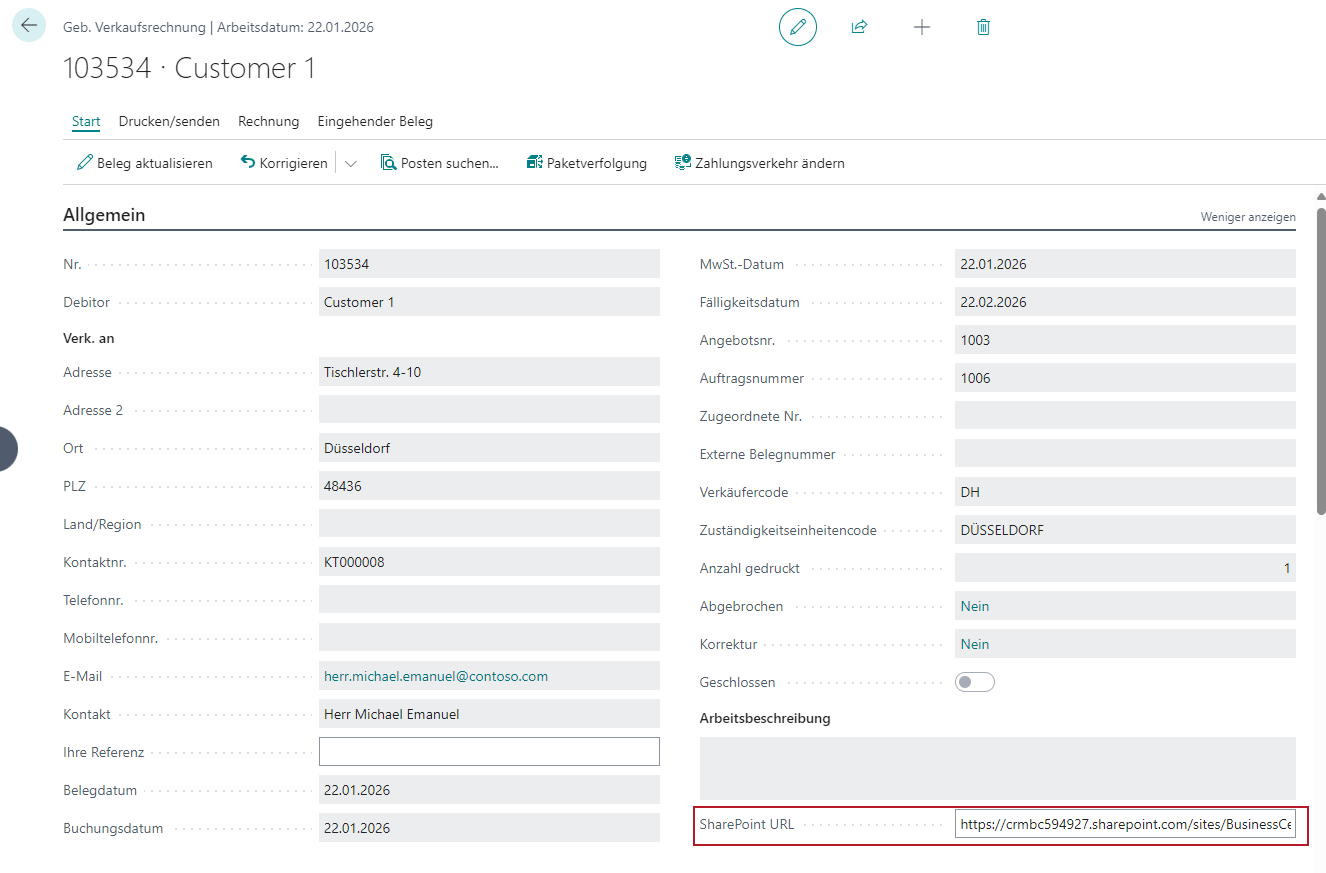
In all supported documents, if the Save SharePoint URLs in tables switch has been activated, the SharePoint URL is shown in the General tab and can also be edited or deleted if necessary if there have been structural changes to the SharePoint. However, as mentioned above, this should be avoided.
General settings
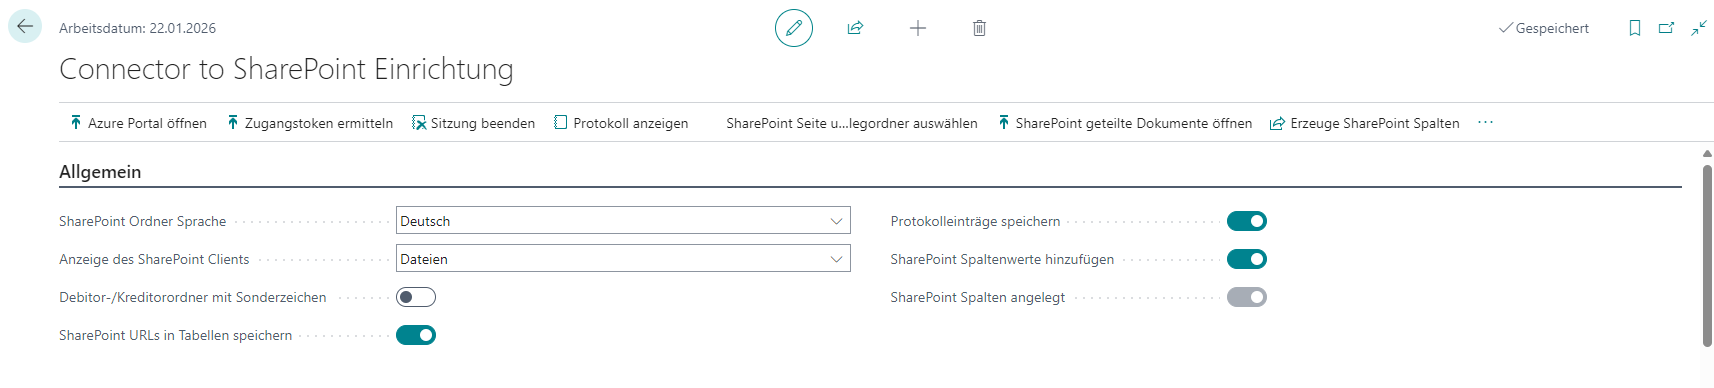
- SharePoint folder language: The General tab contains the setting for the language of the folders created in SharePoint for the document types exported from Business Central. These can currently be created in either English or German.
- Display of the SharePoint client: The display of the SharePoint client in Business Central can be selected as follows:
- Fast Tab
- This option can only be selected in SaaS environments.
- Here, the SharePoint page of the corresponding document in which a user is located in Business Central is displayed in a Fast Tab.
- Files can be viewed, renamed or deleted here.
- Files can also be added using drag and drop via the fast tab. Just like on the SharePoint website itself.
- Fact Box
- This option can only be selected in SaaS environments.
- Here, the SharePoint page is shown in a fact box on the right-hand side of a document instead of in a Fast Tab.
- Pop Up
- This option is available for on-premise environments in which the SharePoint page cannot be shown due to technical regulations on the part of Microsoft.
- Here, the SharePoint popup button is shown in the menu, which opens the SharePoint page of the corresponding document in a new browser window.
- Files
- This option is available for on-premise environments in which the SharePoint page cannot be shown due to technical regulations from Microsoft.
- With this option, the files of the document in question are temporarily retrieved from SharePoint and shown in a table in a Fast Tab.
- Attention: Depending on the number of files, loading the files may take a moment. Therefore, for newly added files, a reload of the file must be triggered manually in order not to unnecessarily hinder work on a document.
- An additional marked area in the fact boxes makes it possible to transfer files to SharePoint via drag and drop.
- Fast Tab
- Customer/vendor folders with Special Characters: This button can also be used to create folders with special characters, thanks to a change made by Microsoft in SharePoint. However, the following special characters are currently not possible: “*:<>?/|. When the switch is activated, a query is shown asking whether existing folders should be renamed. If there are already customer and vendor folders that were created without special characters during a previous installation of the Connector to SharePoint app, these are renamed in a batch run. All vendors and customers are run through and it is checked whether there is already a folder on the SharePoint for the customer or vendor in question. If a folder is found for a customer or vendor with the previous name, an attempt is made to rename it.
::: Attention This setting is only possible once. As soon as the setting with special characters has been changed, it is not possible to switch back to the previous setting. This process can take a certain amount of time if many customer and vendor folders have been set up. :::
- Save SharePoint URLs to Tables: If this switch is not active, the URLs are determined at runtime. With a large amount of data in the supported tables, such as customers/vendors or posted sales invoices, this can lead to longer waiting times when opening the pages. This switch can be activated to prevent this.
Hinweis
The SIEVERS Connector to SharePoint is a one-way interface to SharePoint. Changes made on SharePoint are not written back to Business Central. If folder structures are changed on SharePoint, the URLs must be removed from the relevant tables so that the URL is regenerated at runtime. Otherwise, the data cannot be transferred correctly from SharePoint to Business Central. This can be done with the two buttons in the ribbon Delete all SharePoint URLs and Delete SharePoint URLs.
- Save Logs: This button can be used to generate log entries if, for example, a folder could not be created or a file could not be transferred. It can be particularly useful to activate this option at the start of use in order to detect any errors. If the switch has been activated, the Show log button appears in the menu, which can be used to show the log entries.
- Add SharePoint Column Values: With this button and the SharePoint Colkums Created button, you have the option of creating new columns for metadata in SharePoint. As soon as the Add SharePoint column values button has been activated, the Create SharePoint columns button becomes clickable and the additional columns can be created. The following can be created automatically in the background
- the document type
- the document no.
- the customer or vendor no. associated with a document and
- the document date when a document is transferred. The SharePoint columns created button is then active.
- Transfer to SharePoint: Specifies how documents are to be transferred to SharePoint:
- After Posting: Transfers the documents immediately after posting. This is the default setting.
- Job Queue: Transfers the documents separately via job queue entries. When you select this option, a settings window opens where you can specify the time of the first execution and the interval in minutes. By default, the interval is set to 24 hours, i.e. 1440 minutes. Documents to be transferred via the job queue are first stored in the Time-controlled document transfer table after posting and transferred the next time the job queue entry is executed. They can then be found in the archive of the same name. Both can be found in the Related menu of the setup. If you want to change the execution time or interval of the job queue entry later, you can find a link to the entry via the Related menu. You can also access the log there.
Connection settings

The access data for the Azure App registration can be entered in the setup settings.
- Status: This field shows the state of the connection.
- Application Client ID: Enter the Application (Client) ID of the Azure App registration in this field.
- Directory (Tenant) ID: Enter the Directory (Tenant) ID of the Azure App registration in this field.
- Client Secret: Enter the Client Secret of the Azure App registration generated by Azure in this field.
Once the fields have been filled in, the connection can be tested using the Get Access Token button in the menu.
If the connection was successful, a message appears and the state changes to Connected.
SharePoint Connection settings

The connection settings are only shown if the Show connection settings button has been clicked in the menu.
- Redirect Url: The same address must be entered in this field as in the app registration in the Azure portal. By default, this is https://businesscentral.dynamics.com/OAuthLanding.htm.
- Scope: The scope shows the Microsoft Graph Explorer with which the transfer to the SharePoint takes place. No changes should be made here.
The fields SharePoint shared documents Url, SharePoint shared documents ID, Site ID and Drive ID are automatically entered using the Select SharePoint site and shared document folder button and should therefore not be changed.
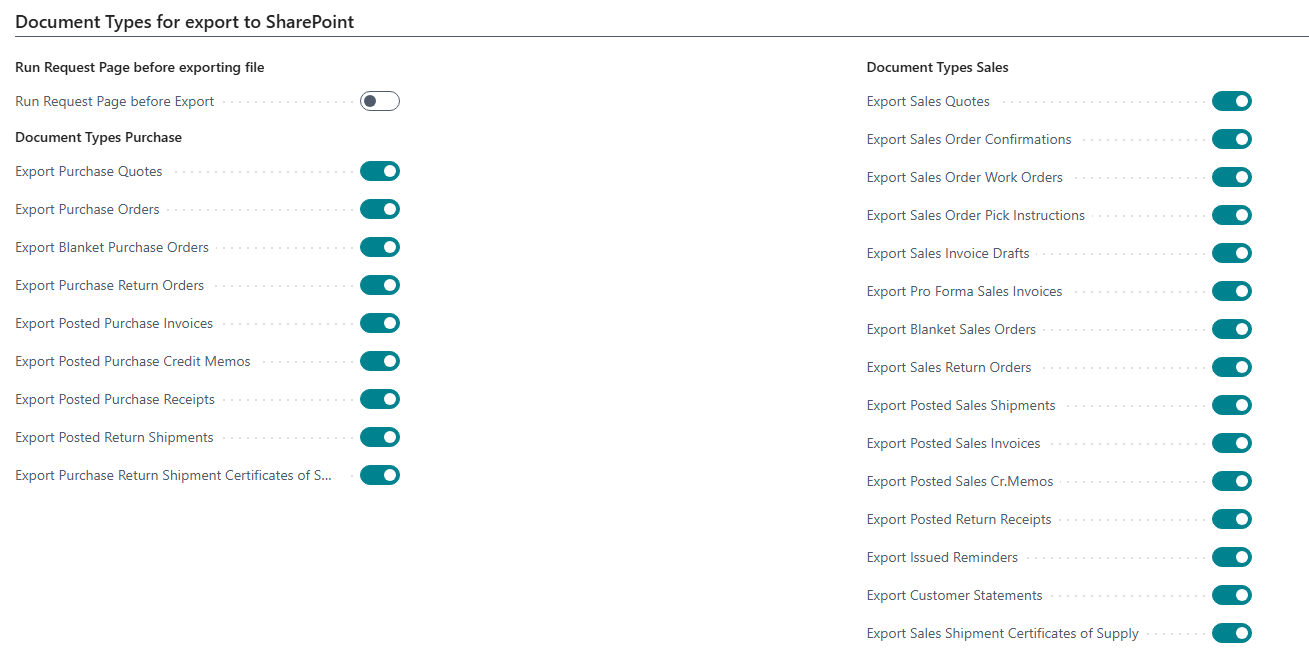
Document types for export to SharePoint
In this area, you can specify which reports are transferred to SharePoint in the form of a PDF when printing.
Run Request Page before exporting file
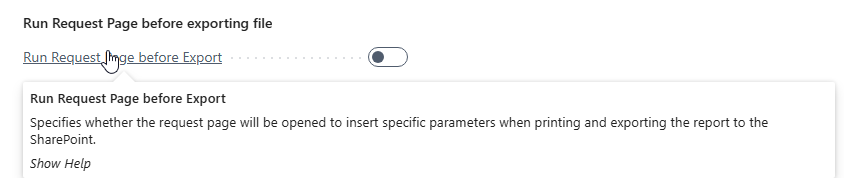
If individual reports require parameters to be set in the request page, this can be used to specify that each time a report is printed, the request page of the report is opened a second time to make changes for export to SharePoint. Normally, the request page data is saved by Microsoft in the background and retrieved by the Connector to SharePoint when the PDF is generated, so that the report is stored in SharePoint with the identical settings as before when it was printed.
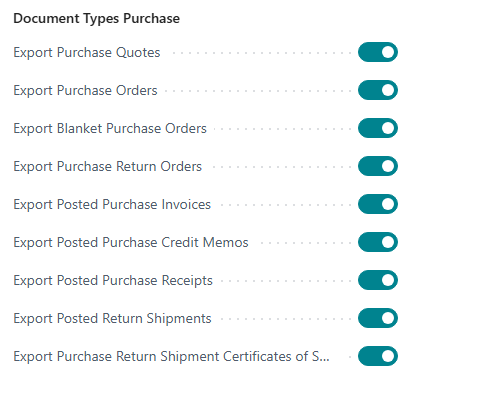
Document Types Purchase
In this area, you can select the reports of the associated purchasing documents that are transferred to the SharePoint as a PDF file when printing.
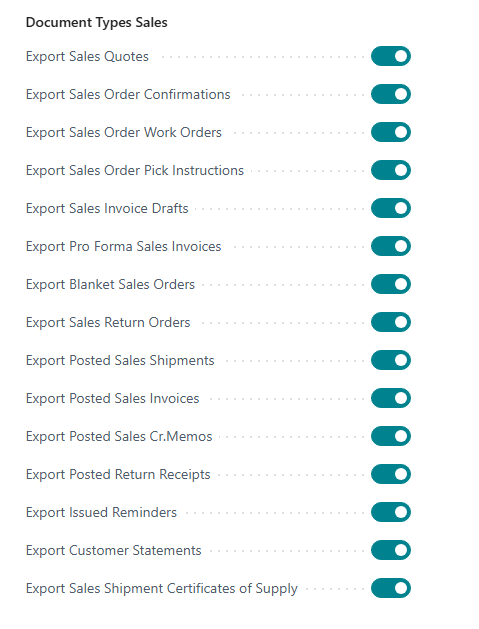
Document Types Sales
In this area, you can select the reports of the associated sales documents that are transferred to the SharePoint as a PDF file when printing.
Hinweis
For technical reasons, the account statements can only be exported from BC 22 onwards and are not available in older Business Central versions.
Document Types Service
In this area, you can select the reports of the associated service documents that are transferred to the SharePoint as a PDF file when printing.
Hinweis
The service functions are only fully available in BC 25 to BC 27. In BC 24, the incoming documents for service are not available. BC 23 and older versions are not supported for service documents.
Delete SharePoint Folders
Specifies whether SharePoint folders are deleted when the records assigned in Business Central are deleted.

For example, the entire SharePoint folder structure of a customer is deleted when it is deleted in Business Central or when a sales order is deleted (after posting), the associated SharePoint folder is also deleted.
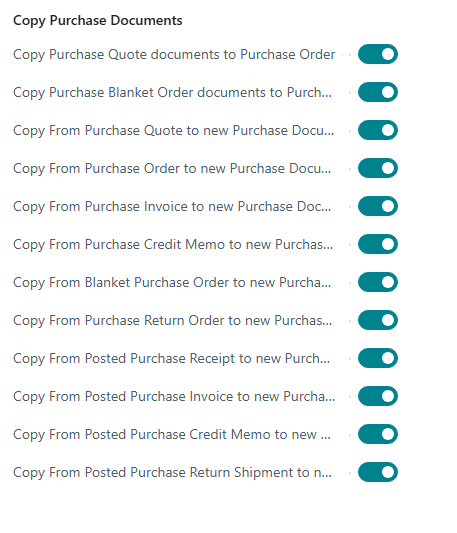
Copy Documents
In this section, you can set which files in purchasing and sales documents should be copied from one document to a new document.
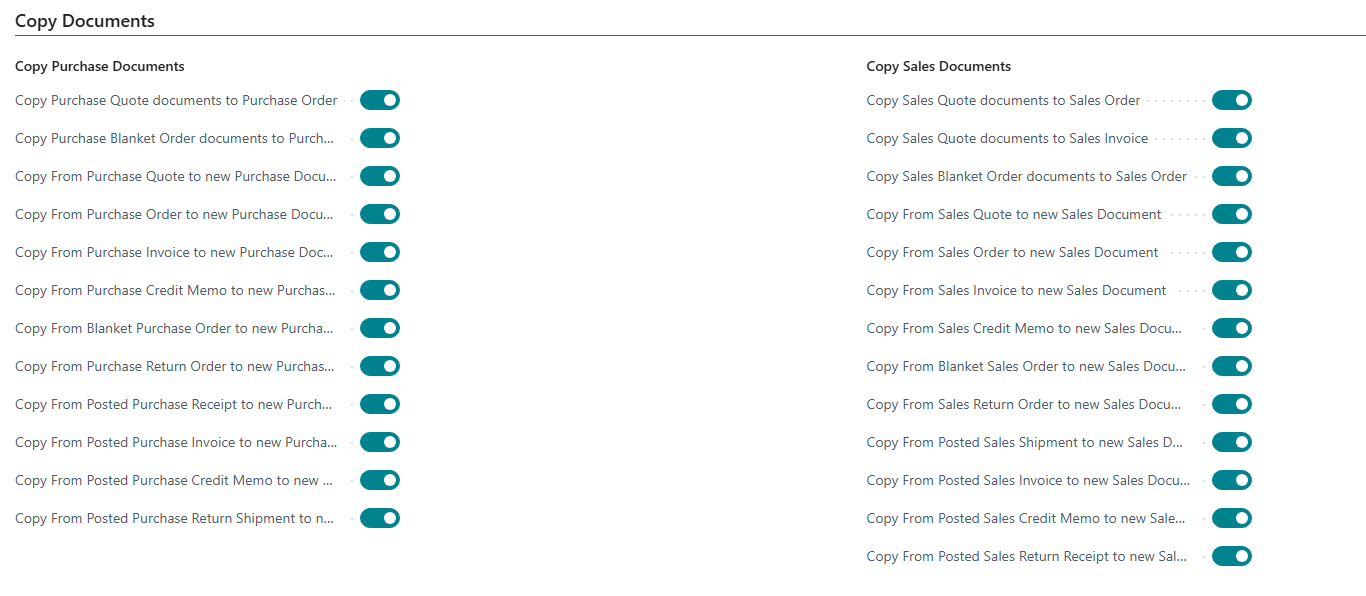
Copy Purchase
For example, the files of a purchasing request stored on SharePoint can be transferred here when transferred to a purchasing order.
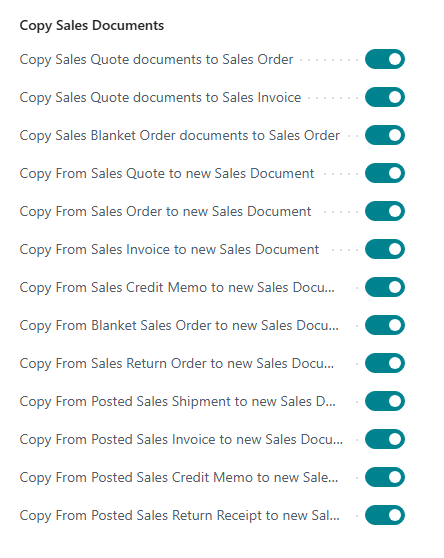
Copy Sales Documents
For example, the files of a sales quotation stored on SharePoint can be transferred here when they are converted into a sales order.
Copying Dpcuments at Post
This section is used to specify which files located on SharePoint are to be transferred from unposted documents to the folder of the posted document created.
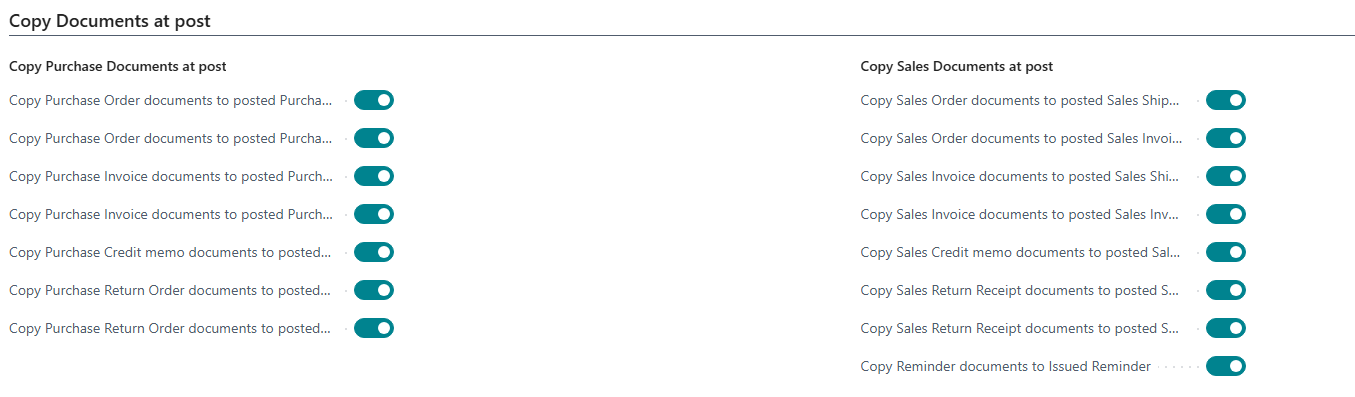
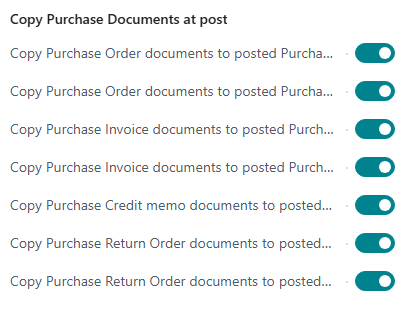
Copy Purchase Documents at Post
For example, the files on the SharePoint of a purchase order can be transferred to the posted purchase invoice.
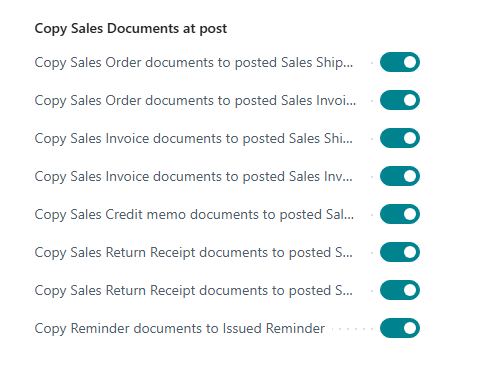
Copy Sales Documents at Post
For example, the files on the SharePoint of a sales order can be transferred to the posted sales invoice.
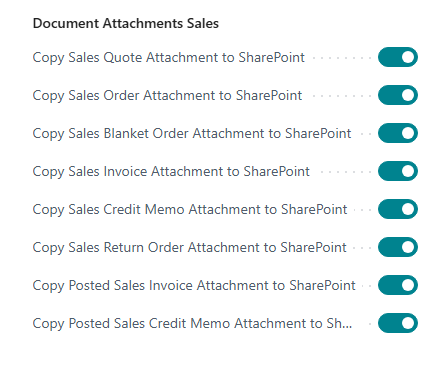
Document Attachments
This section is used to specify whether added attachments are transferred directly to the corresponding SharePoint folder for the respective document.

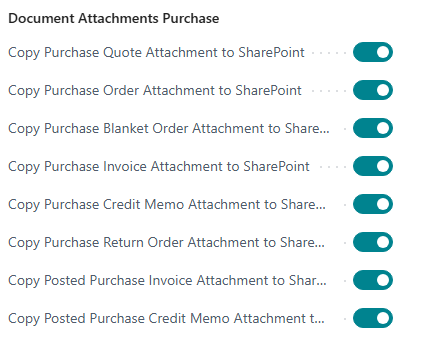
Documents Attachments Purchase
For example, a document attachment added to a purchase order can be transferred directly to the SharePoint folder for the order.
Documents Attachments Sales
For example, an added document attachment to a sales order can be transferred directly to the SharePoint folder of the order.
Documents Attachments Service
For example, an added document attachment to a service order can be transferred directly to the SharePoint folder of the service order.
Incoming Documents
This area is used to specify whether an incoming document is to be transferred directly to the corresponding SharePoint folder for the respective document.
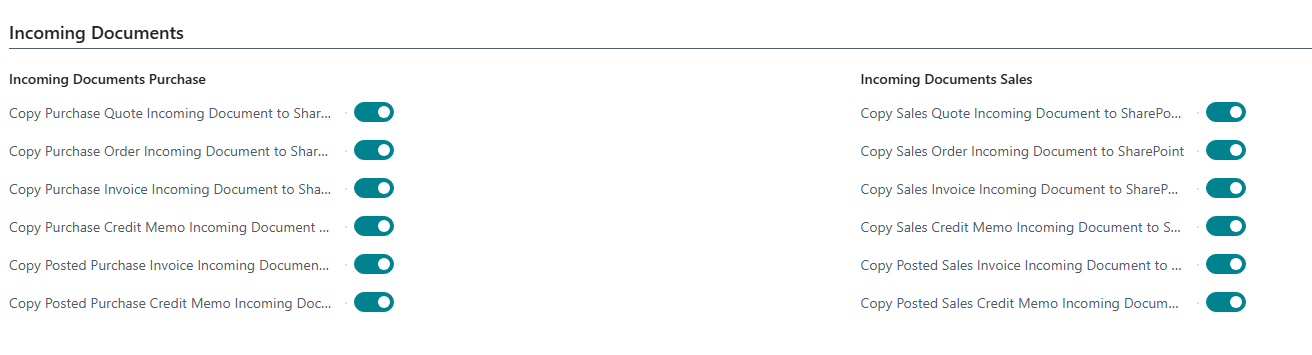
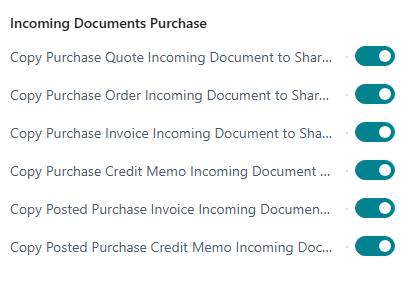
Incoming Documents Purchase
For example, an incoming document added to a purchase order can be transferred directly to the SharePoint folder for the order.
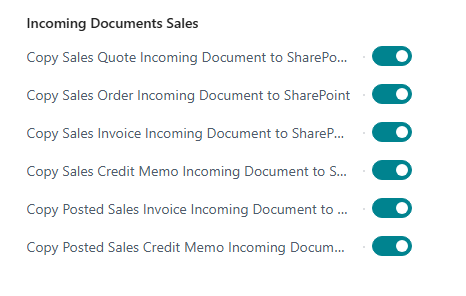
Incoming Documents Sales
For example, an incoming document added to a sales order can be transferred directly to the SharePoint folder for the order.
Incoming Documents Service
For example, an incoming document added to a service order can be transferred directly to the SharePoint folder of the service order.
Hinweis
Incoming documents for service are only available from BC 25 onwards.
Archive Documents in SharePoint during Batch Processing
With these options, you can specify which documents are to be archived during batch posting with the SharePoint Connector. This includes purchase, sales, and service documents.
