Web Service Access Key
To establish the connection between Business Central and ELO, ELO needs the web service access key of the Business Central user. In this section you will read how this is generated and where it is stored.
Hinweis
Please note that the BC Connector must be set up in the ELO system. Follow the corresponding documentation for this.
Creation of the Web Service Access Key
Then a setting must be made on the user ADMIN.
To do this, open the user page and the user ADMIN.
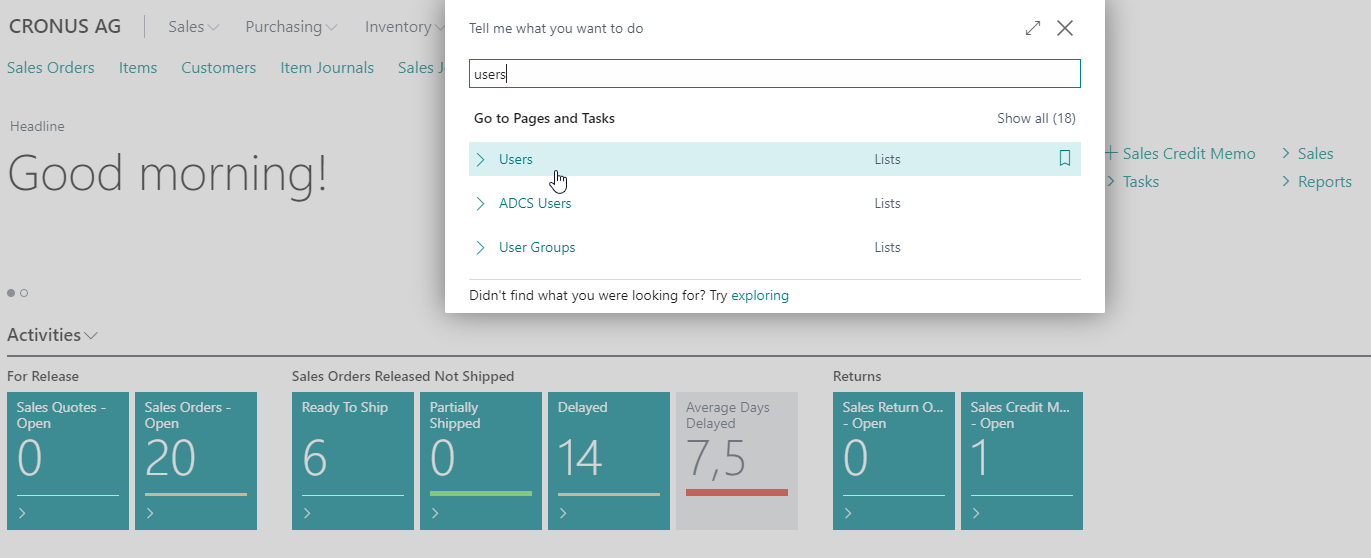
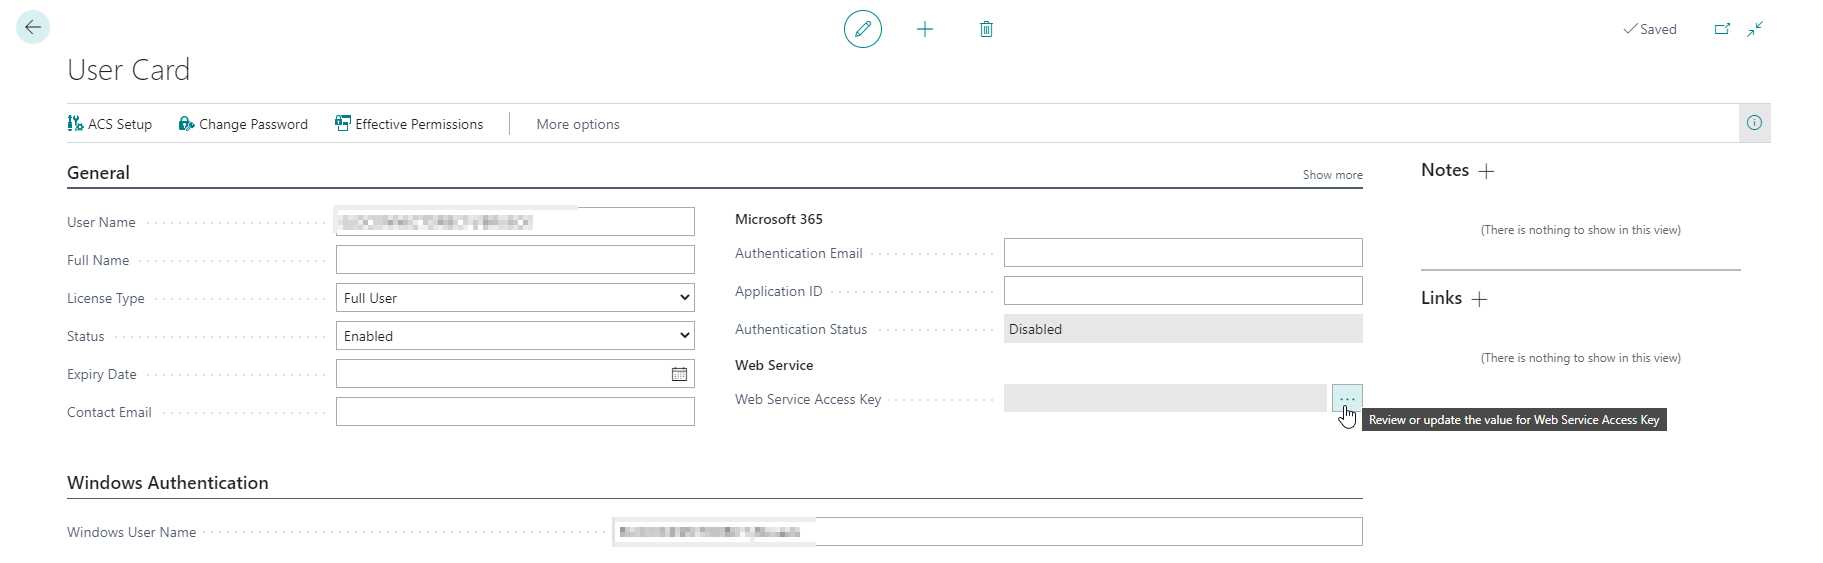
To allow the ELO system access to Business Central, a so-called Web Service Access Key must be generated. The setting for this can be found in the Web Service Access tab.
Open the AssistEdit via the menu button next to the Web Service Access Key field.
Confirm the query that opens with Yes.
Now a window opens with two fields:
Key never expires and Key expiration date.
Activate Key never expires and confirm the entry with Ok. Now a new key has been created, which you can see in the Web Service Access Key field.

Highlight the key with three quick clicks and copy it with CTRL-C. Make sure that you really copy the whole key.
Inserting the Web Service Access Key into ELO
The key copied in the previous section must now be pasted into ELO.
The field used for this can be found in the Admin Console in the BC Connector area. Here there is a category Base Configuration.
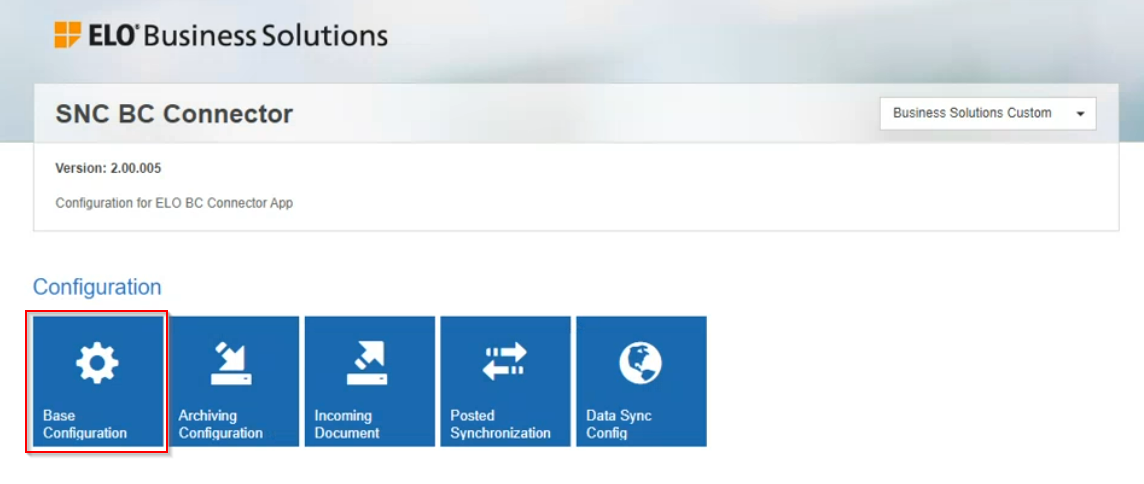
In this category you will find various basic settings - including the field for the Webapi-key or -User PW. Paste the key you just copied here.
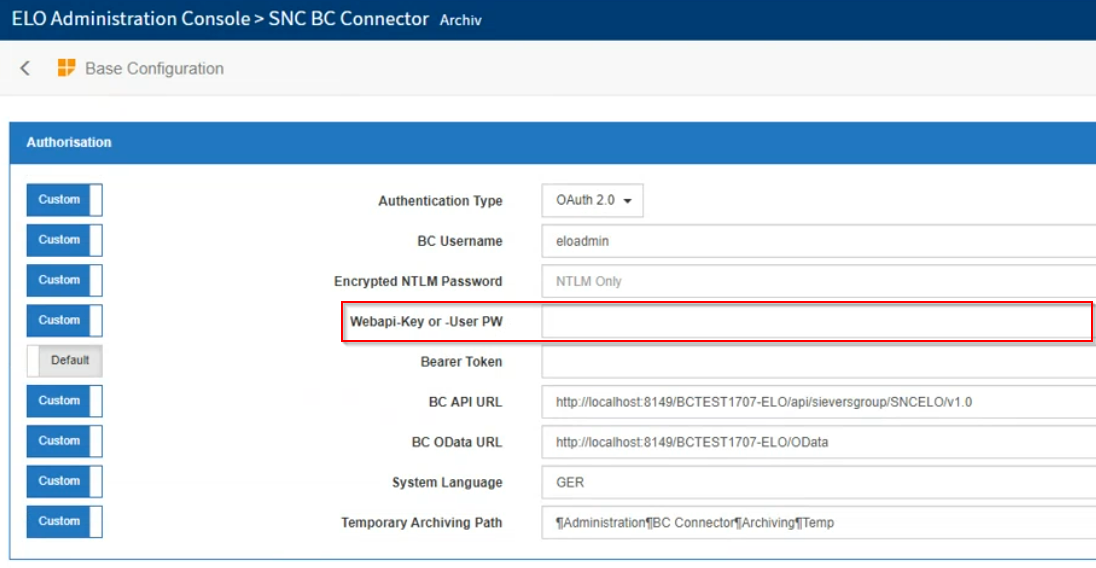
The ELO Connector is now connected to ELO and can be used. The setup is finished.
Set up the AAD application in Azure Portal
To use the ELO Connector with a Business Central SaaS, it must be registered and set up on Azure beforehand.
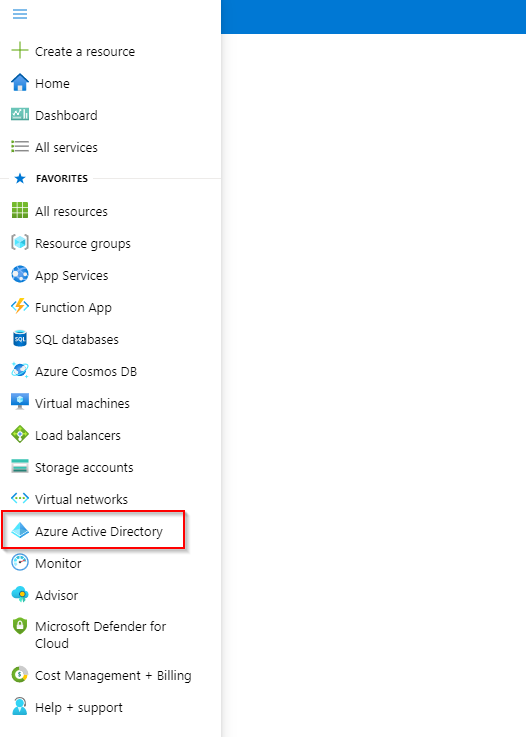
To do this, open the portal.azure.com page and log in with the correct tenant. In the menu you will find the item Azure Active Directory.
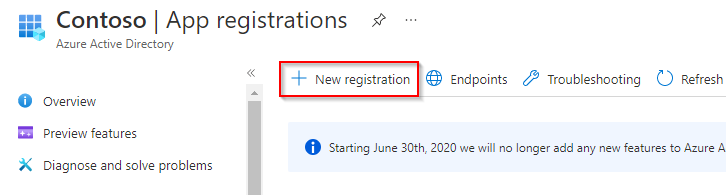
Here you can register new apps in the App registrations section. Create a new app registration with New registration.
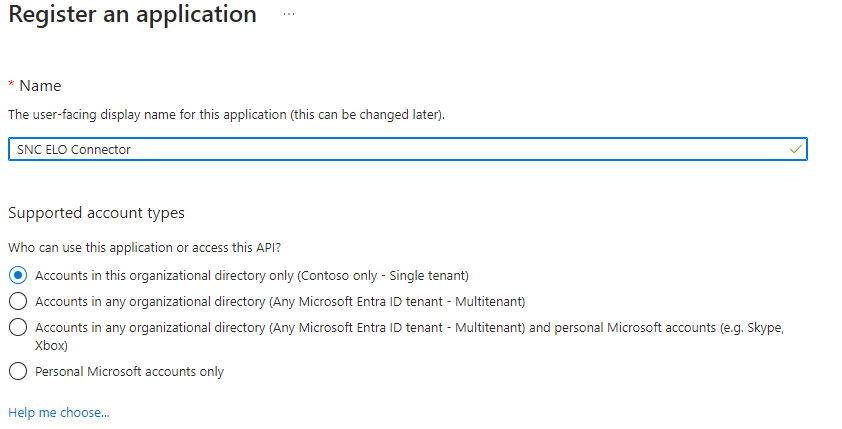
Give the app a name, for example SIEVERS ELO Connector. Also make sure that in the Supported account types section, the first option Accounts in this organizational directory only is selected.
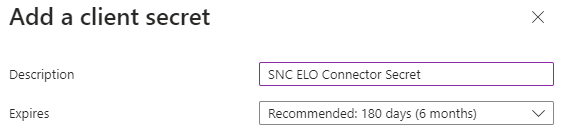
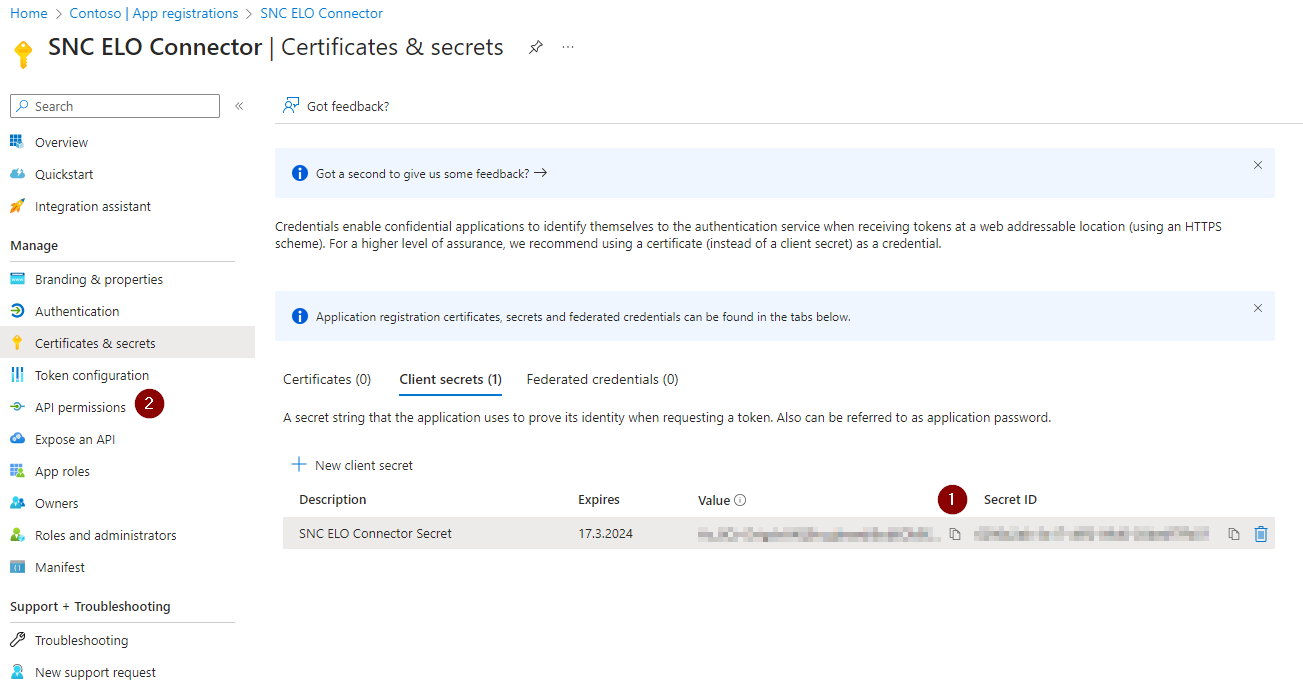
After registration, some important data is displayed. Save the Application ID and the Directory ID separately. You will need them later. Then add a Client Secret with Add a certificate or secret. This is necessary for the creation of credentials.

You can enter any name for the description. Then add a date on which the secret should expire.
::: Attention After you have created the Secret, you must copy the Secret-Value immediately and save it separately. Copying is only possible when the value is displayed for the first time. :::
Then switch to the API Permissions menu.
In the API Permissions, the service must now be authorized to receive data from the Business Central API. To do this, add a new permission with Add a permission.
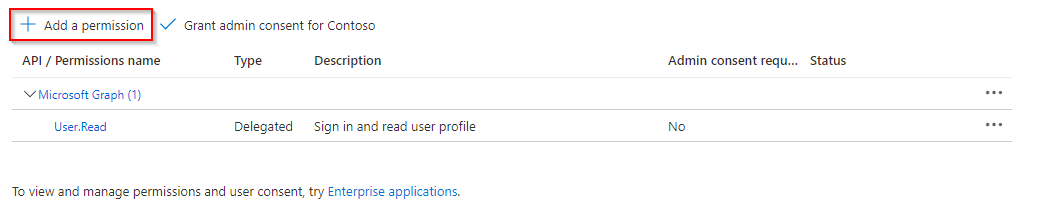
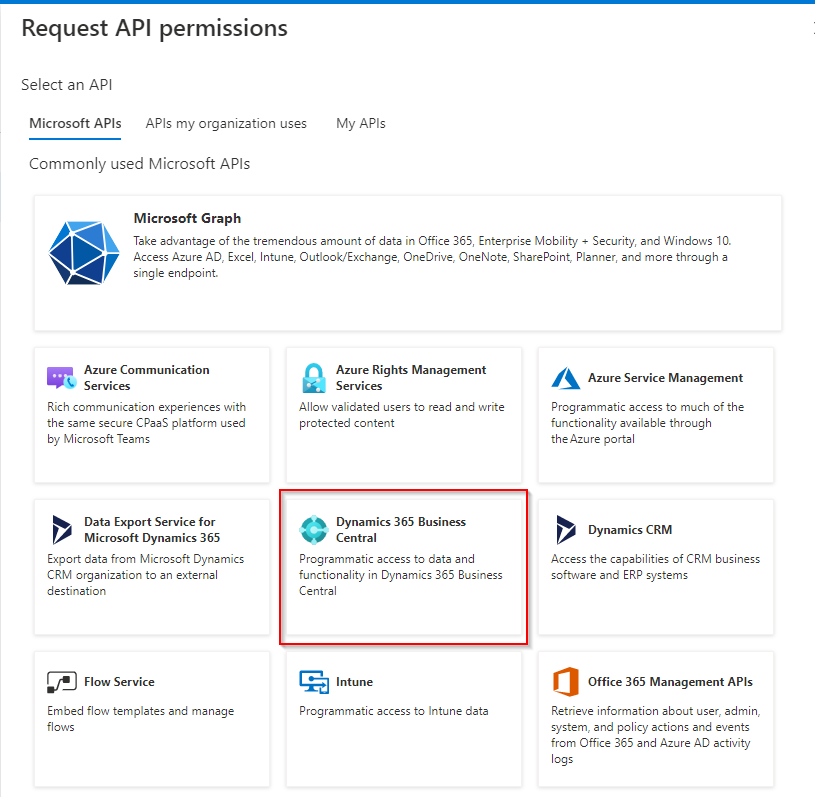
Then you need to select for which API you want to assign the permission.
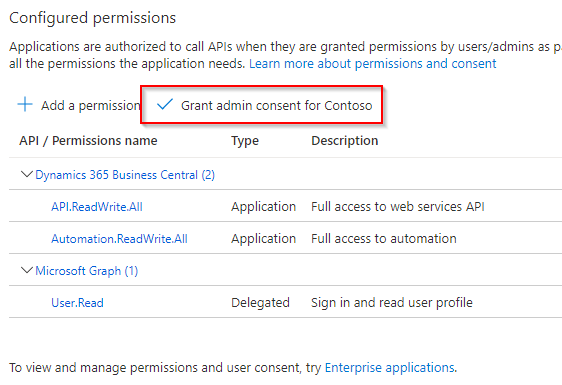
Now the authorization is configured. It is an application authorization. In addition, the service should be able to read as well as write. Therefore set the permissions as shown in the following screenshot.

After you save the permission, the permission still needs to be granted admin consent. To do this, select Grant admin consent for Contoso.
Now only the authentication of the service must be enabled. To do this, open the Authentication page via the menu.
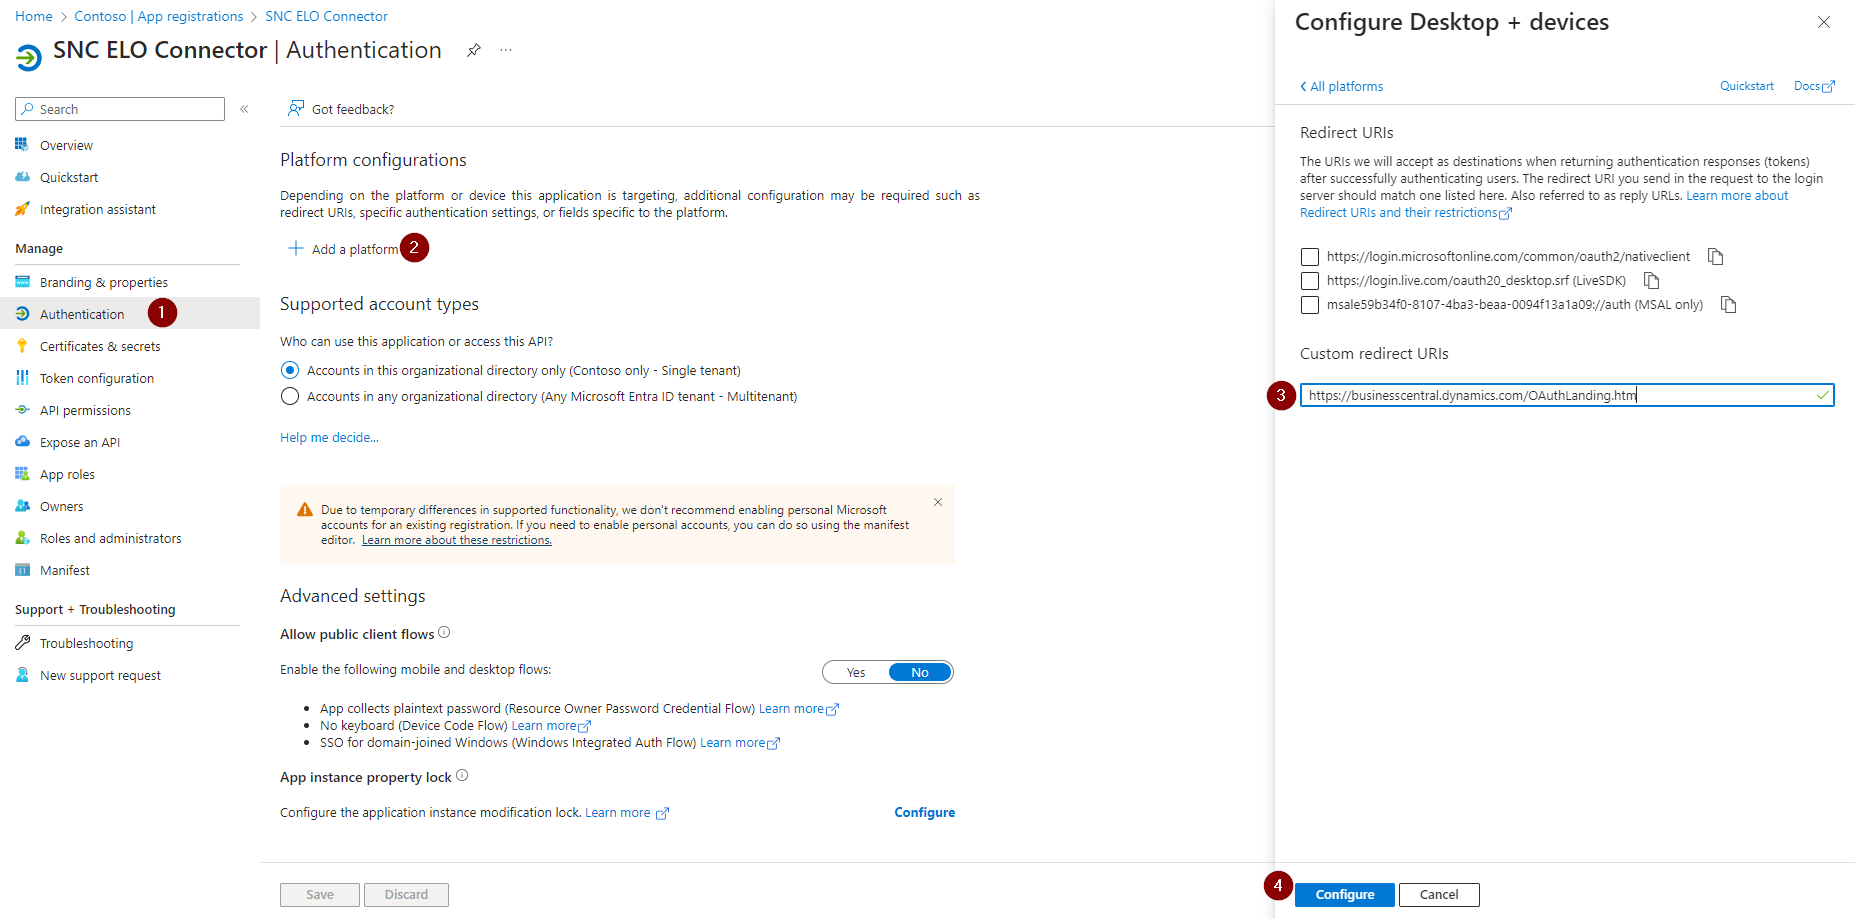
Add a Mobile and desktop applications configuration via Add platform.
In this configuration, set up the redirect URI to
https://businesscentral.dynamics.com/OAuthLanding.htm
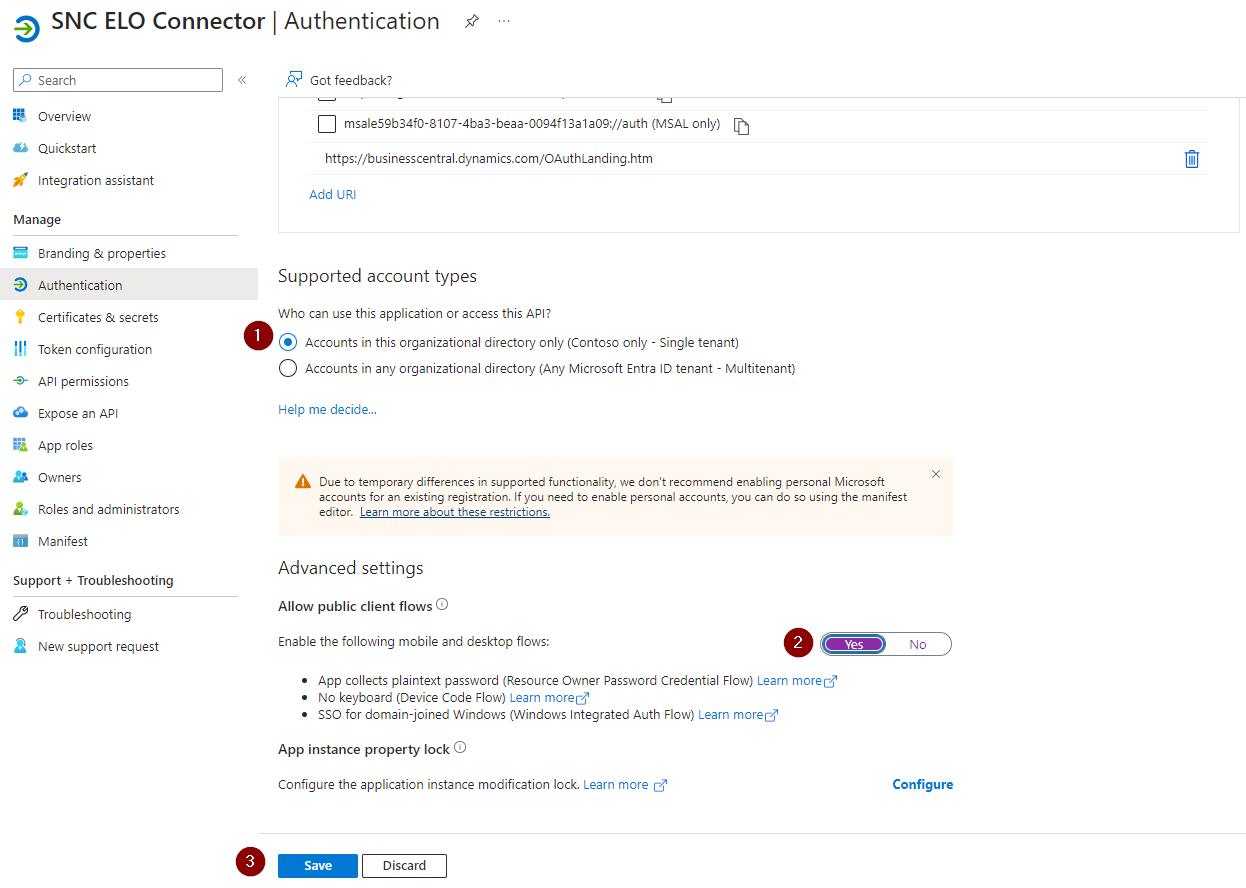
Set the Allow public client flows option to Yes.
The Business Central tenant is now ready to use the SIEVERS ELO Connector.
Enable AAD Application in Business Central
In Business Central, open the Azure Active Directory Applications page and create a new client.
At this point, an ID that you created when setting up the service in Azure comes into play. Enter the client ID in the first field, add a description and switch the State to enabled.
Then assign the user permission sets D365 FULL ACCESS and SIEVERS ELO Con AD to the service.
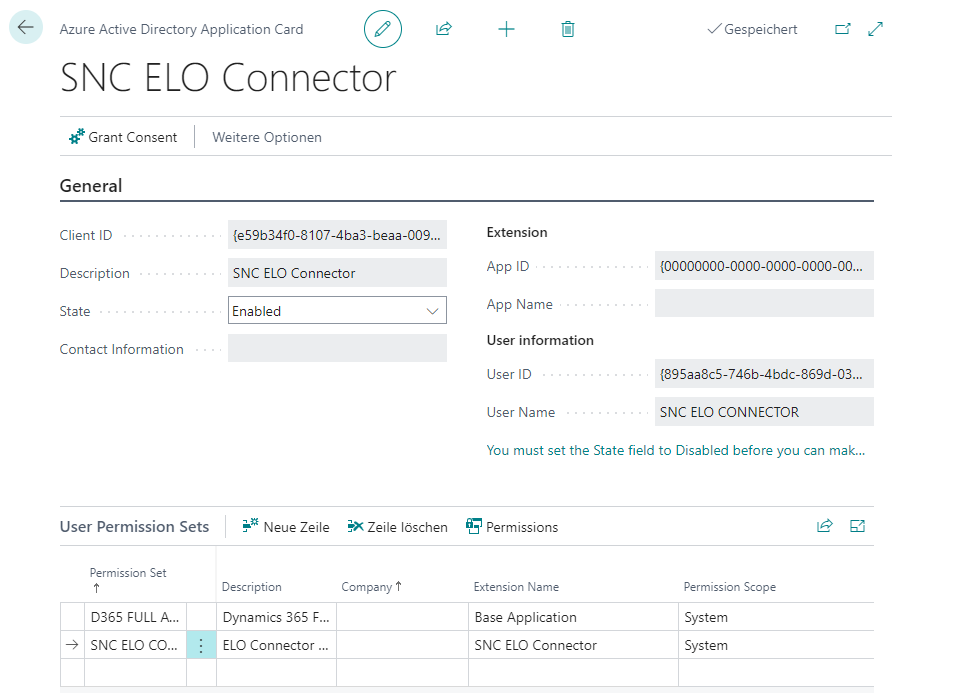
Now SIEVERS ELO Connector is setup in Azure Portal and enabled in Business Central.